

When I started traveling last 2014, I have a list of places I want to visit and at least a target age for me to visit them. This is because I want to keep myself on track with what I want to achieve. Every year I do that. Then I slowly realized that I have to take my time but also – take a chance whenever I can.
So when promo fare ads come by, I just keep on booking tickets to a new place I have never been.
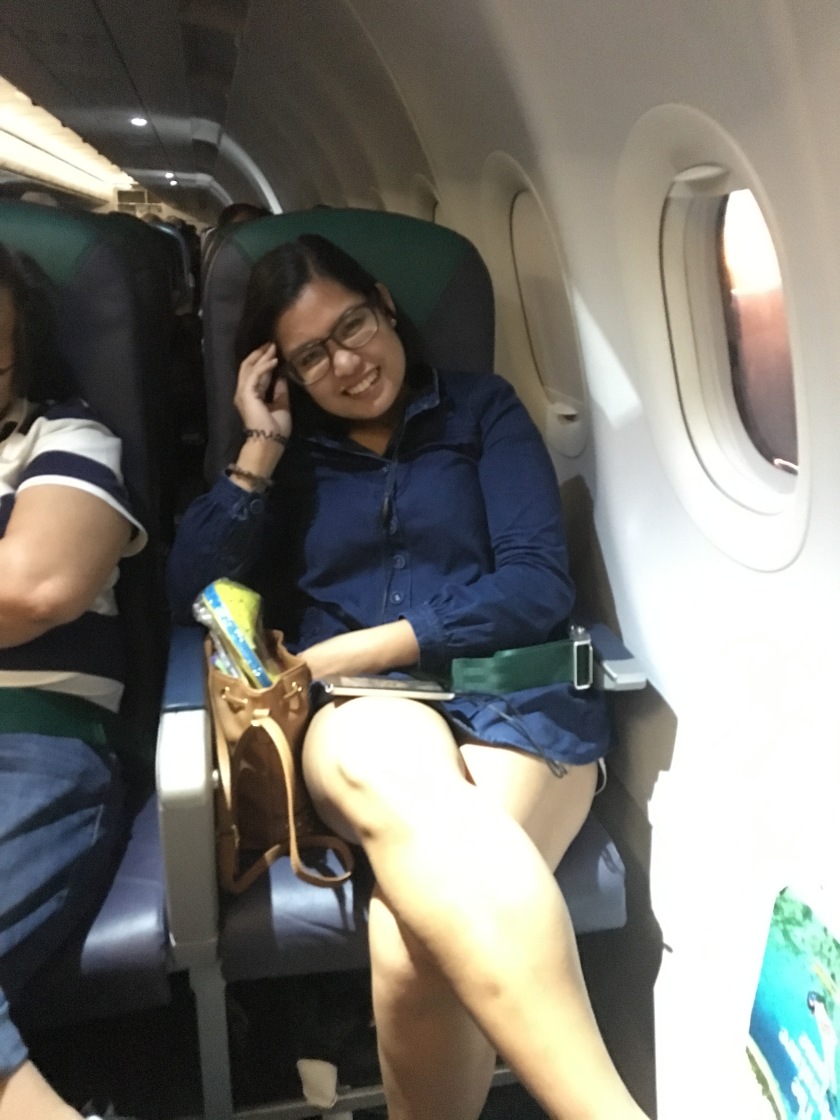
Last February, I availed of the PISO fare from a budget airline and got my round trip ticket to Osaka for only 2390 pesos. That is one hell of a cheap ticket to Japan!!!
So finally I achieved my dream of visiting Japan! I wasn’t able to visit Tokyo due to time constraints but I got to visit Osaka, Kyoto and Nara for only… 14,000 pesos!
The kuripot person I me wanted to make the most out of Japan so I am making this blog to tell you that PWEDE KA MAG JAPAN!!!
BUT FIRST… GET A JAPAN VISA!!!
Philippine passport holders need visas before going to Japan. The embassy of Japan here does not accept walk-in applicants. You’ll have to apply via their accredited agencies listed in their website.
These agencies charge differently. Some of them even have their own cutoffs for application and releasing. The agency I got was the easiest of them all. Reli Travel and Tours is located in prime malls such as SM Megamall and MOA which made transactions easier since they are within mall hours. They are not the cheapest by the way but they are very convenient for me since our office is in Ortigas.
They charge 950 pesos and based on the blogs I read, you have a higher chance of being approved with this agency.
You need to submit the ff requirements:
- NSO Birth certificate
- Bank certificate
- Your pass with 2 pages left in it so they can put your visa
- Daily schedule
- Proof of income (can be your bank statements)
- ITR
- Completely filled up form
Once you’ve completed all of them, you are ready to submit and pay for the processing fee. Visa processing usually takes 5 working days to 14 days depending on how they’ll assess your requirements.
I got mine after 5 working days! So yaaas, here I go Japan.
I’ll tell you this. And this is true. Trust me, I am a budget traveler and I can say that Japan is expensive. Everything is expensive but worth it. Super worth it.
So for you my readers and for those who loved my blog and message me about it, I would like to present to you my budget tips for JAPAN!!
#KiAdventures Travel Tipid Tips for the Expensive Japan
- Look for PROMO fares!
Mag abang ng PISO fare. Stop stalking your ex sa FB and instead mag abang na lang ng promo fares! It will be worth it I swear! You can score a Japan RT ticket for only 2390 pesos! My round trip ticket to Iloilo is much expensive than this one hahaha. Japan tickets are expensive so if ever you know that there’s a promo fare, look for Japan ticket fares agad!
- Try Couchsurfing!
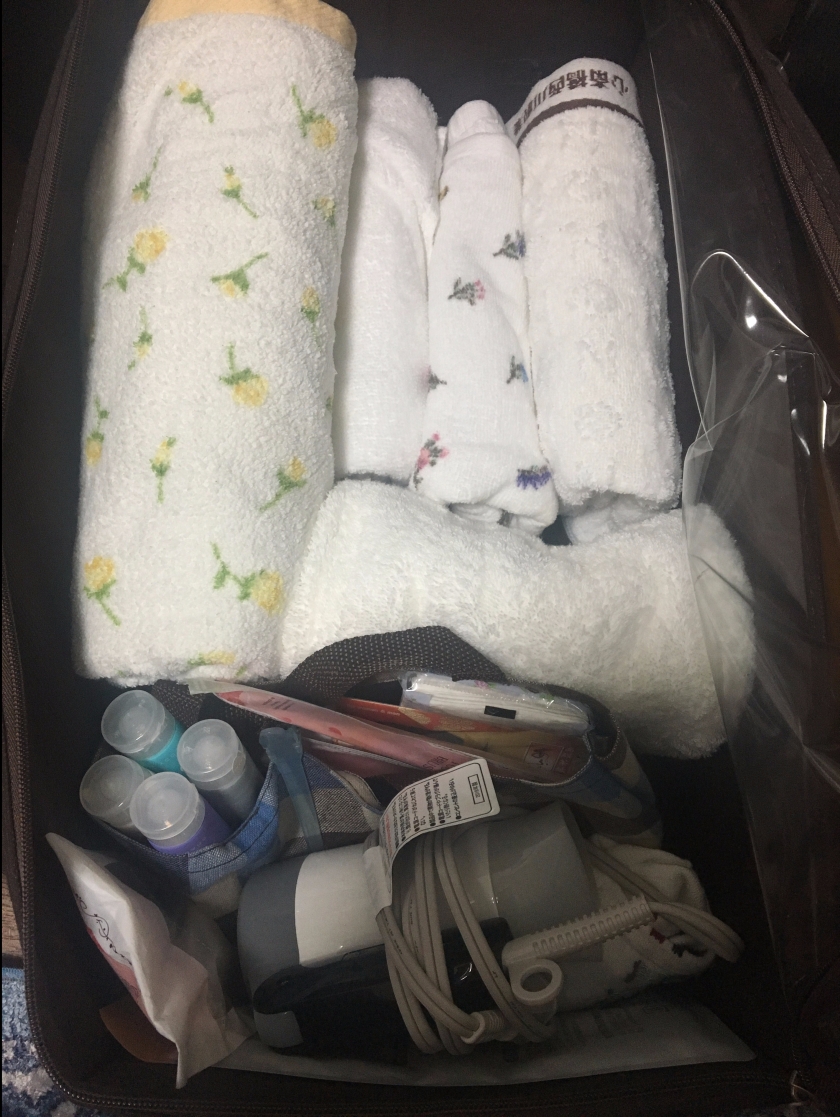
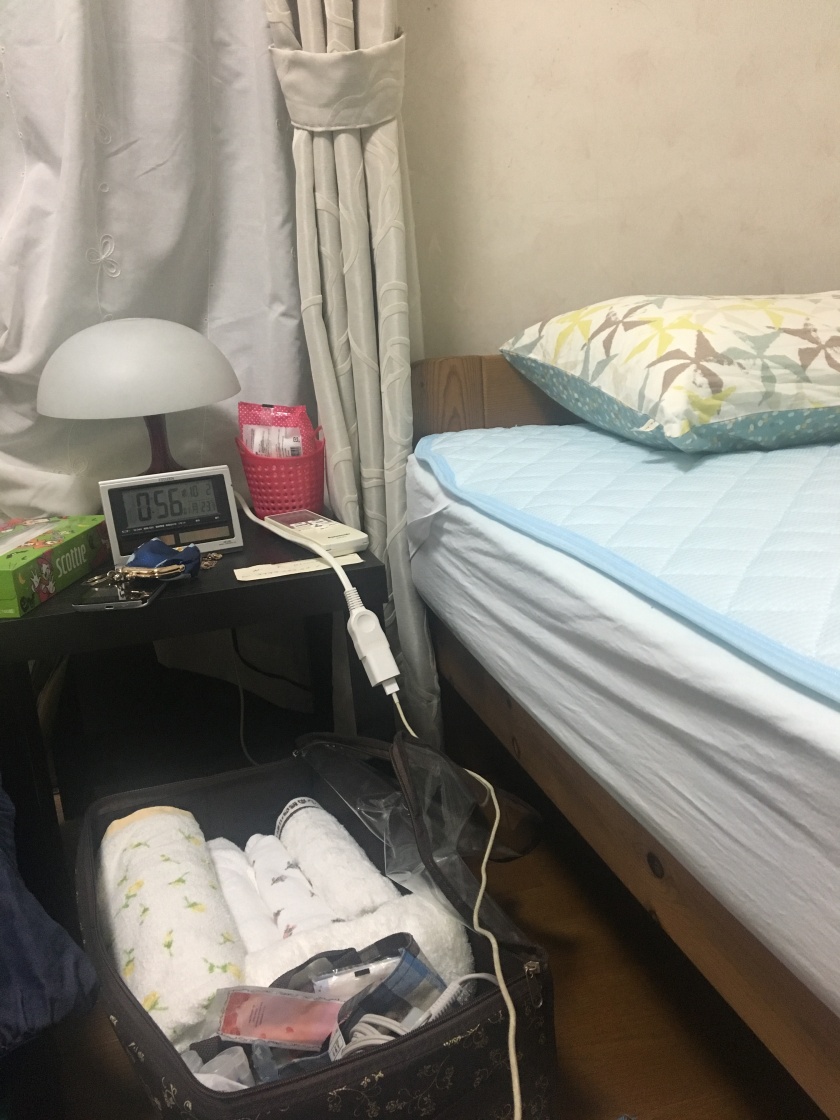
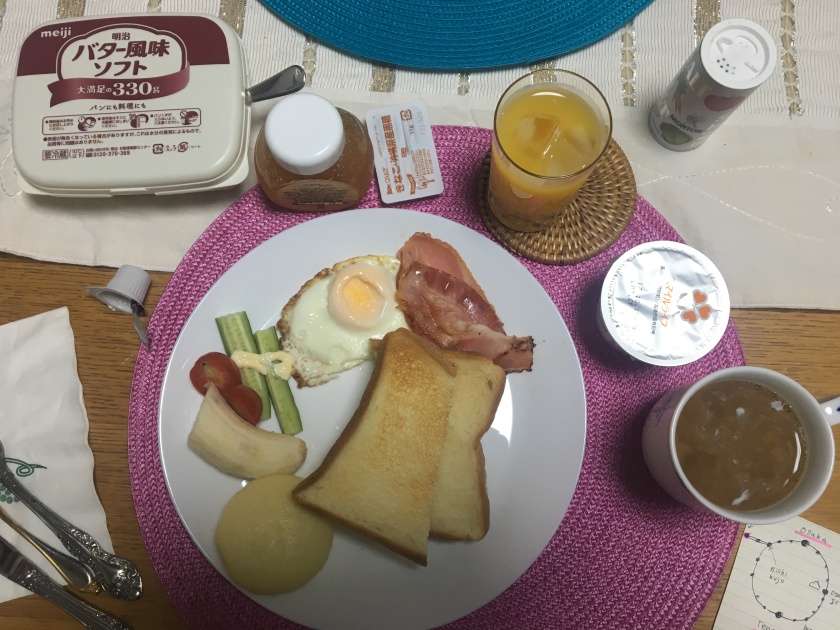
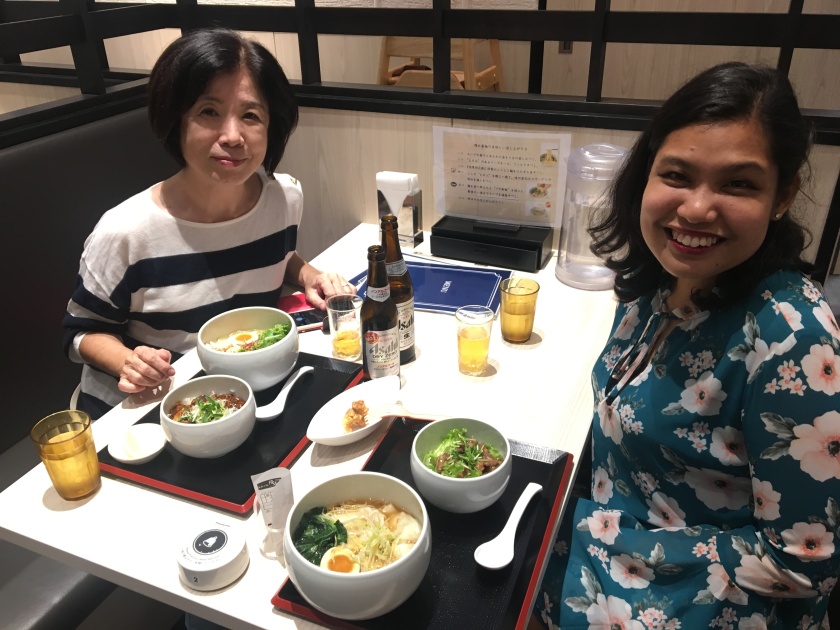
For the first time, I tried Couchsurfing since I know Japan is expensive. My host, Yaeko is a lovely lady who accommodated me for 4 days and 3 nights. My room was very nice with a bed and aircon plus super-fast wifi! She gave me complete toiletries. Overall, her place felt like home. It was even much better than a hostel, I swear!
- Be nice to your Couchsurfing host so she will give you meals
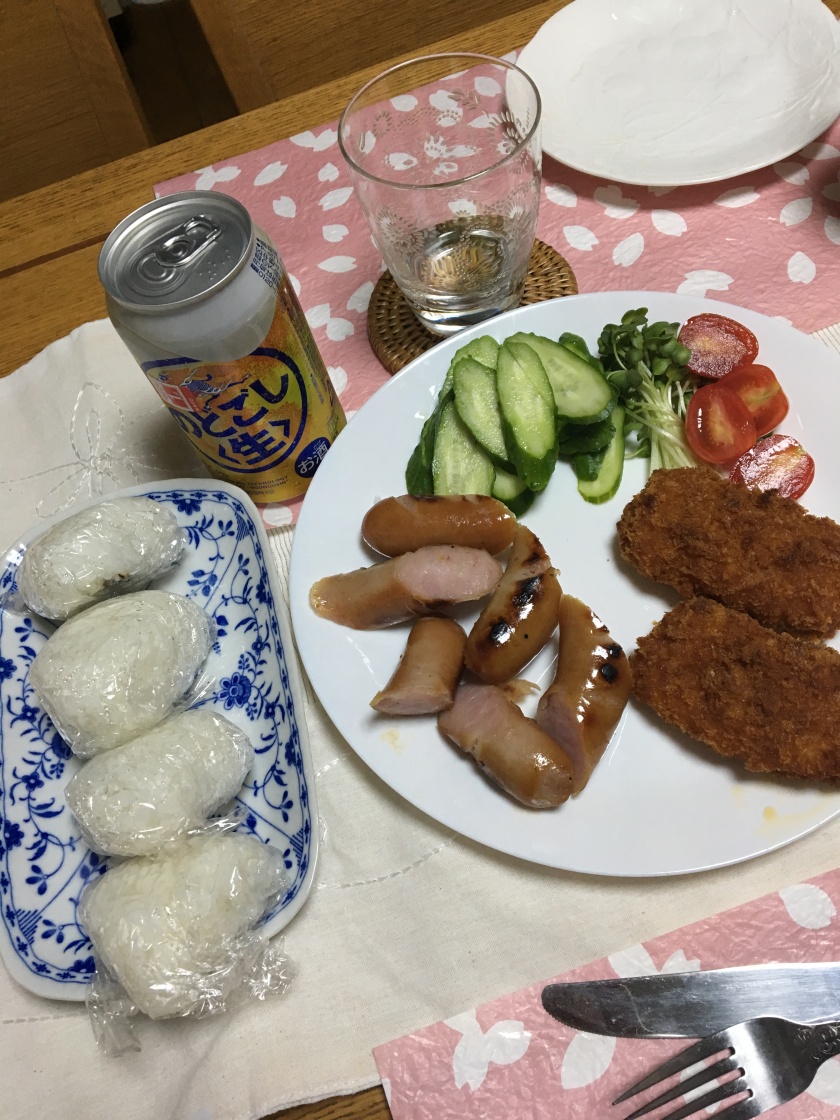
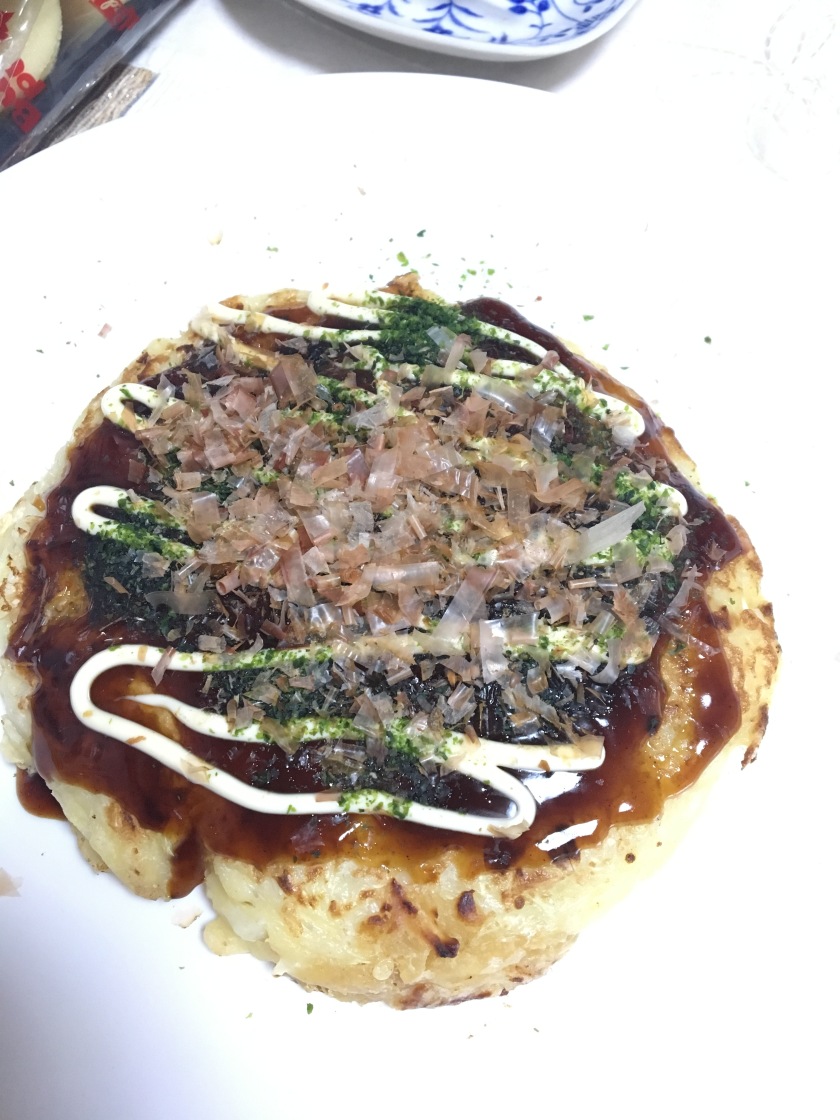
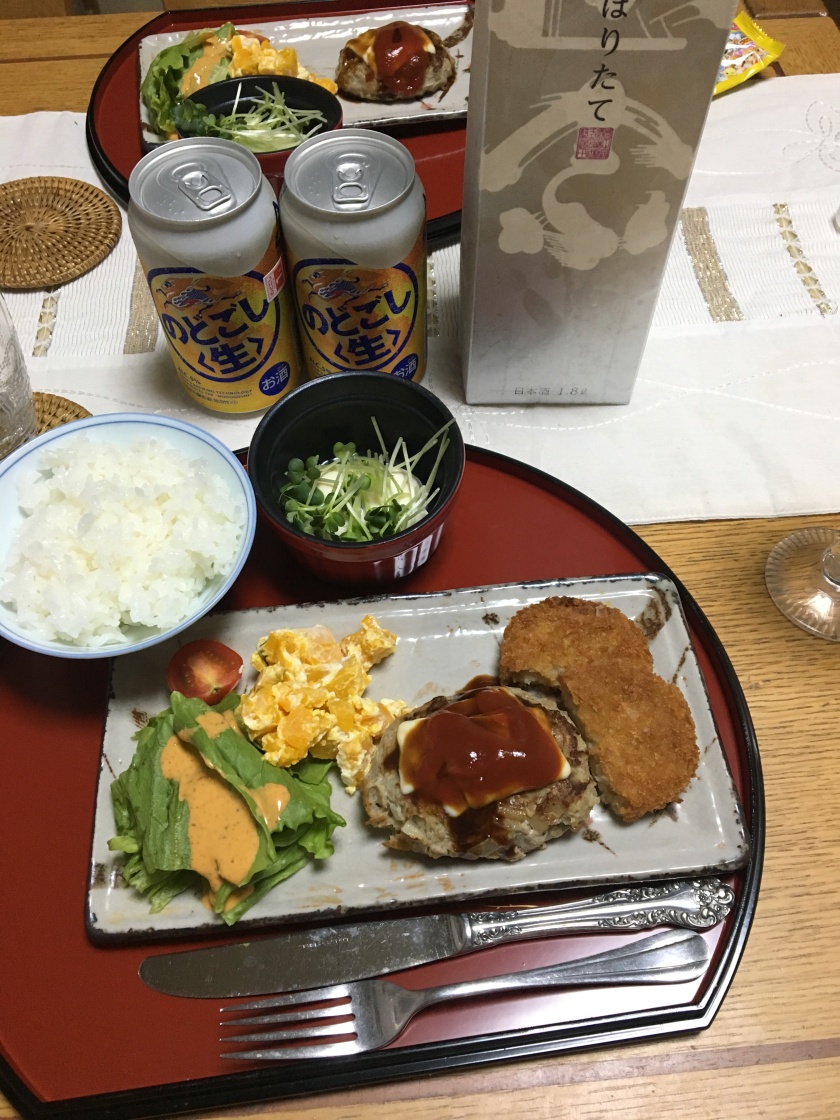
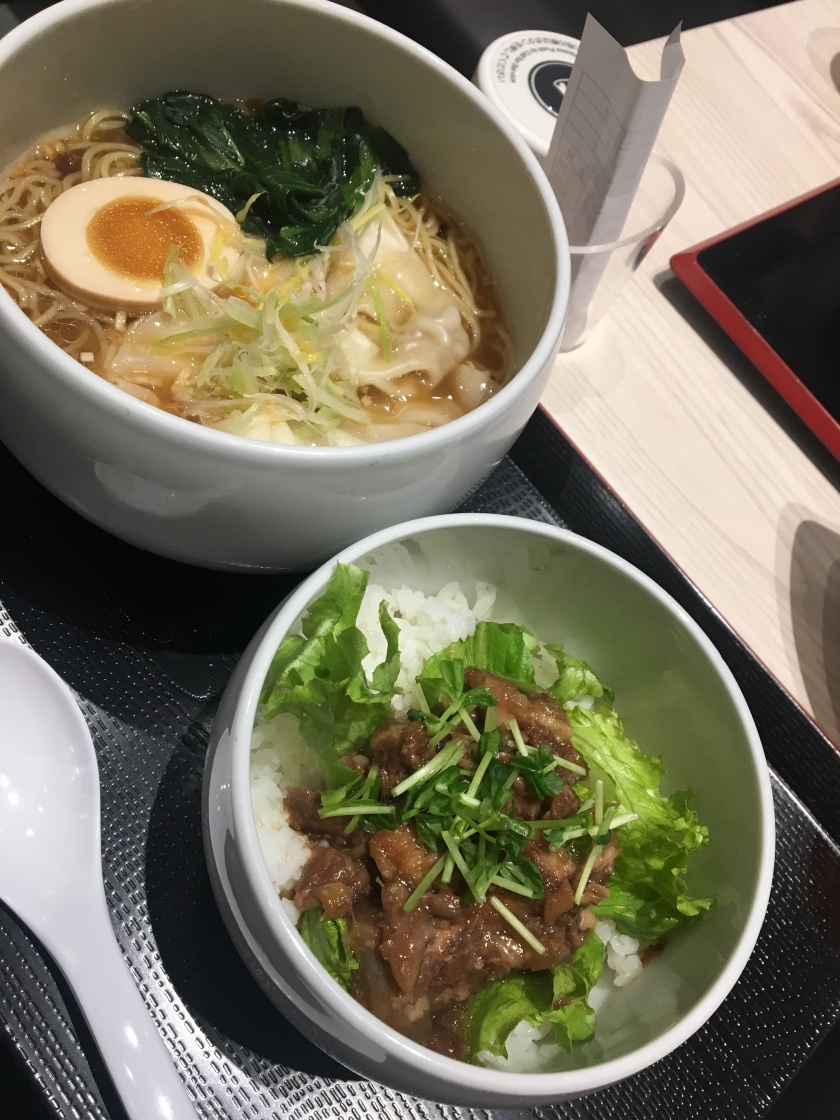
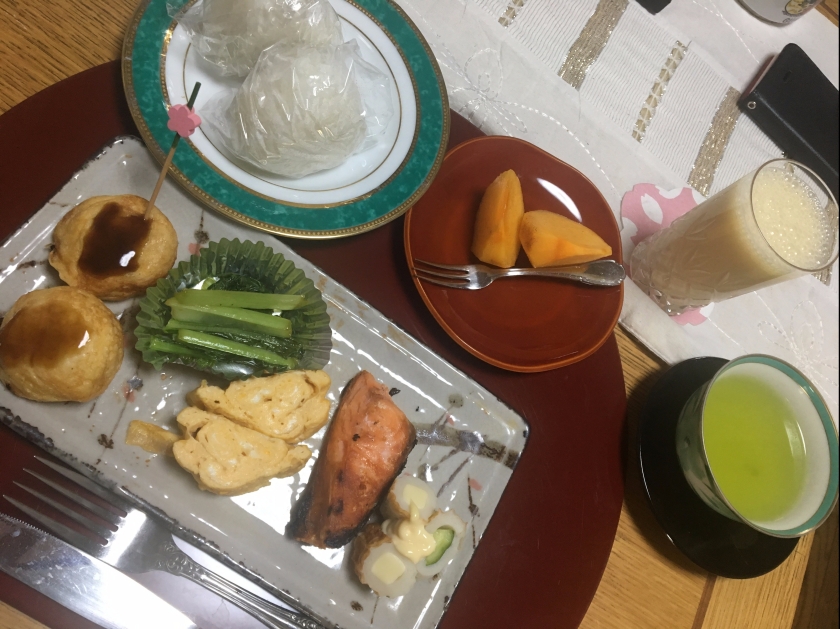
Yes! I was nice to my host and bought her 2 packs of butter puto cheese as thank you for having me stay with her and she fed me dinner on my first night which is basically her home made Japanese cooking! Plus beer since she likes to drink beer. And then days after that, she fed me breakfast and dinner up to my last day. On my last night is Osaka, we had dinner and got ramen and donburi in a mall in Tennoji and she paid for the meal. I was able to save a lot of money because of her.
- Book your attractions using discount coupons
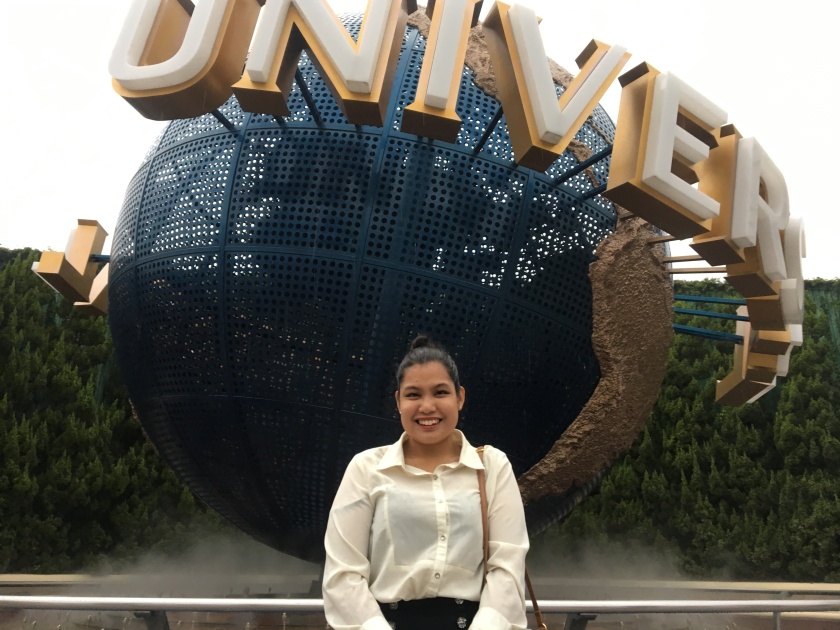
I booked my Universal Studios ticket for only 3,000 pesos via Klook. I got a discount of about 500 pesos and it was easy breezy as well. I just printed the voucher sent and I’m IN! It will also help you beat the long lines in USJ.
- Ask the tourist center for other transportation options
Japan’s transportation system is flawless so before I went out of the airport, I asked for the cheapest transport card to use to explore the Kansai region. There are a lot of blogs about the different transport card – they have the JR West pass, the Kansai region pass and the ICOCA. The tourist center suggested I use the ICOCA and then have my 500 yen refunded on the last day. The ICOCA is their tap card. You get no discounts but it is loadable and can be used in all train lines. Some passes can only be used in selected train lines while the ICOCA can be used for all train lines which makes it much efficient. I practically tried all of Osaka’s train lines for my trip.
- Check for places that are FREE
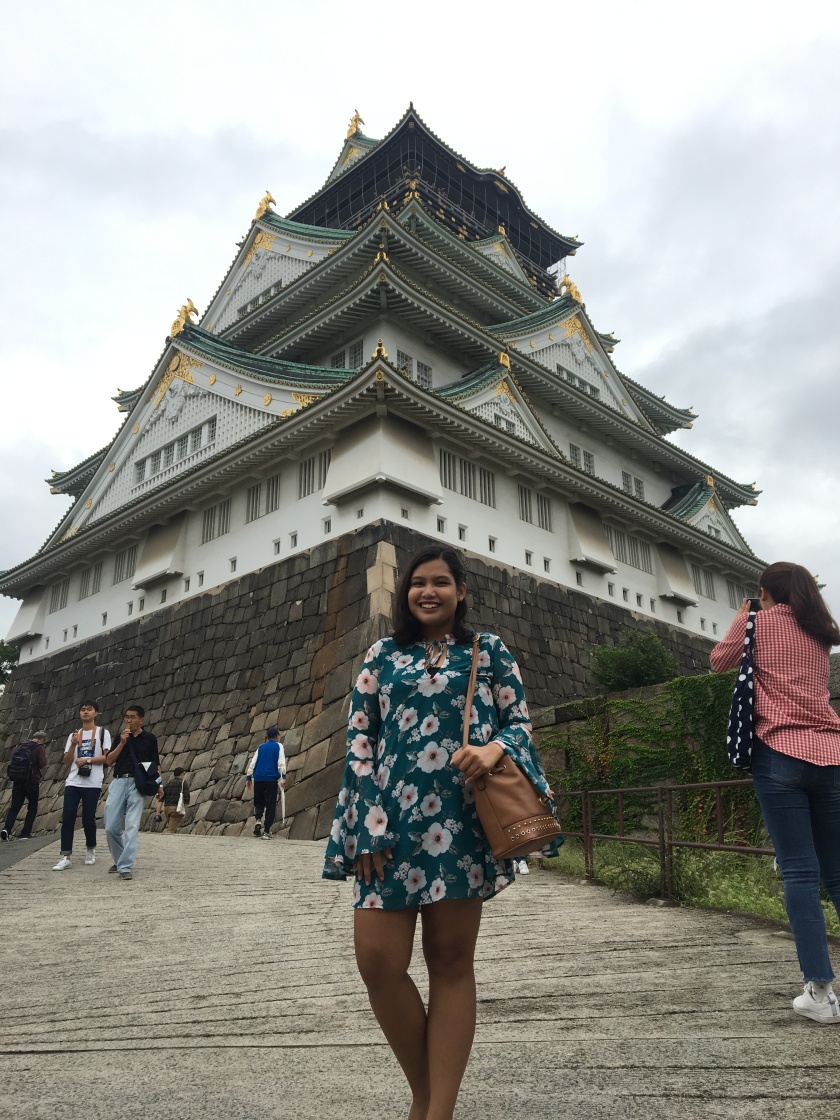
Japan offers a variety of places to visit that are free of charge. For my whole stay, I practically paid for 600 yen ONLY for a visit inside the Osaka castle, 500 yen for a visit in the Todaiji temple and of course USJ but everything else is free!
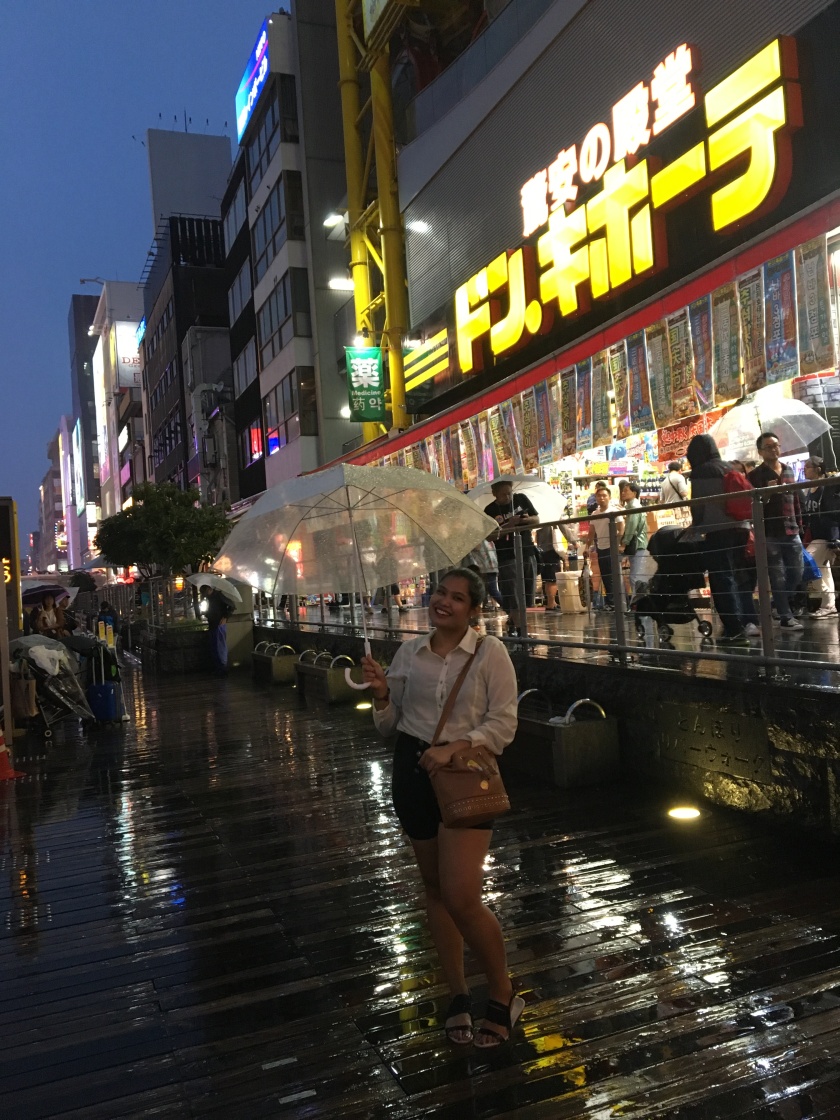
- Don’t buy traditional souvenirs. Go for something you can eat!
I practically invaded Don Quixote in Osaka for different kinds of KitKat. I bought a lot and gave them out as pasalubong here in the Philippines. Other stuff in Japan including souvenir shirts are expensive so I went out for the best souvenir – FOOD!


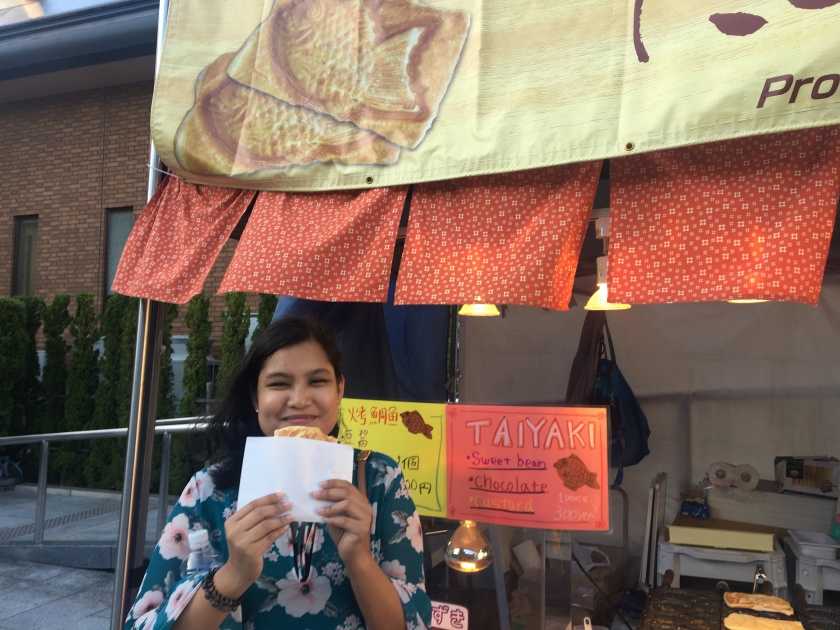
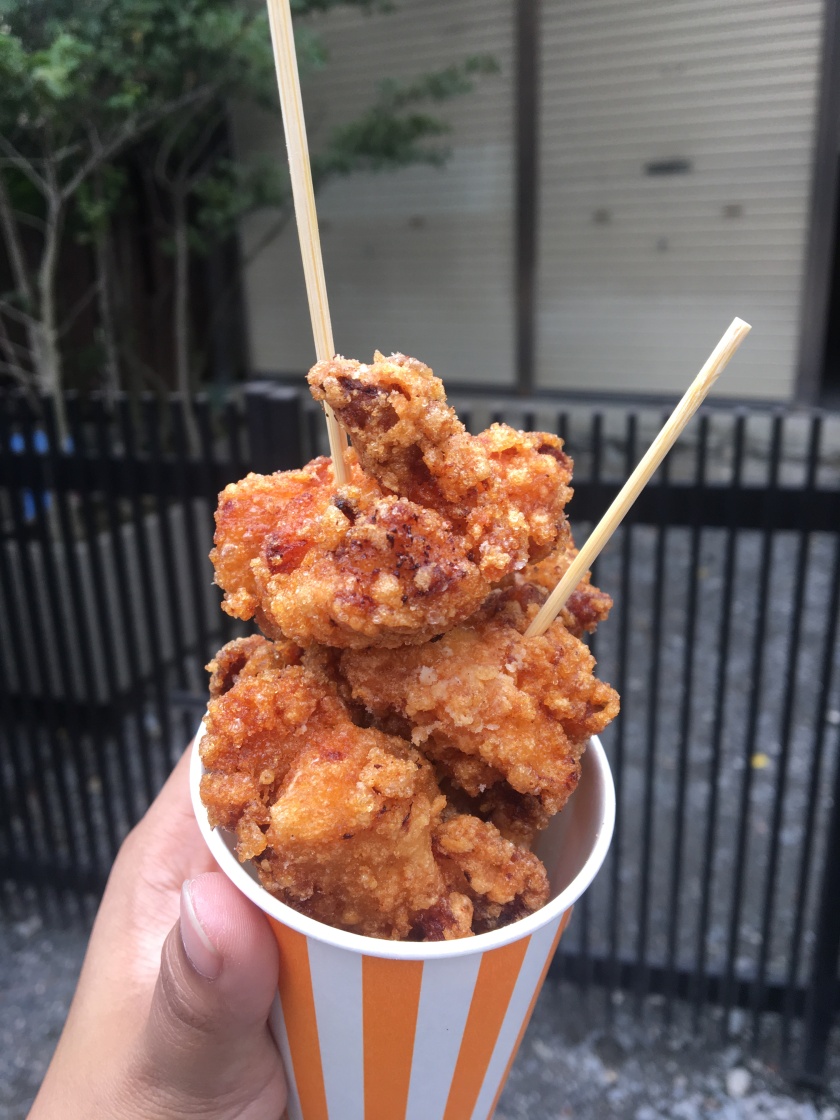
- Go for Japan street food but scout for cheaper ones and bring your own water tumbler!!
Japan street food is cheap and sometimes is priced at 300 yen so you better enjoy it! When you visit tourist spots, food outside that place will be expensive so go a little farther and you’ll see more options. I got chicken karaage near Fushimi Inari for 500 yen but there are other options a little away from the place and there are vendos everywhere in Japan so you won’t have to worry about a thing.
After knowing my special “tipid” tips, let me give you an itinerary to maximize Japan for 4 days and 3 days and this includes a visit to Osaka, Kyoto and Nara 🙂
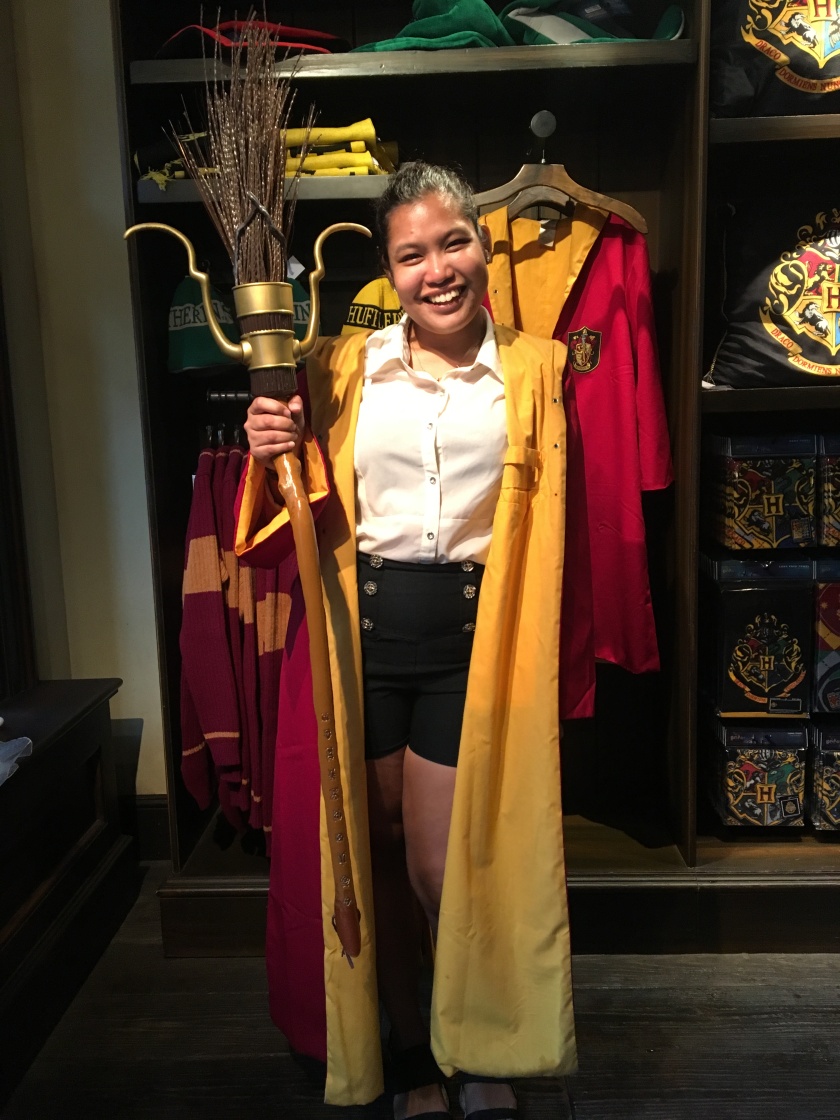
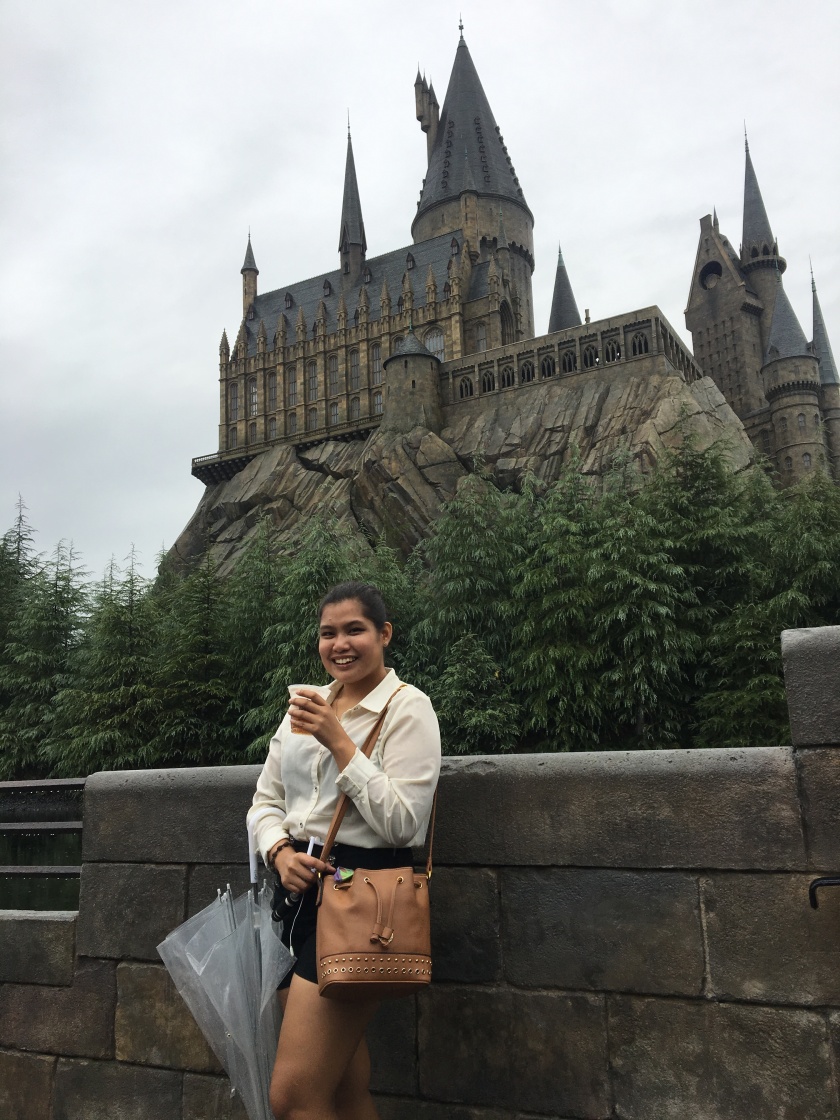
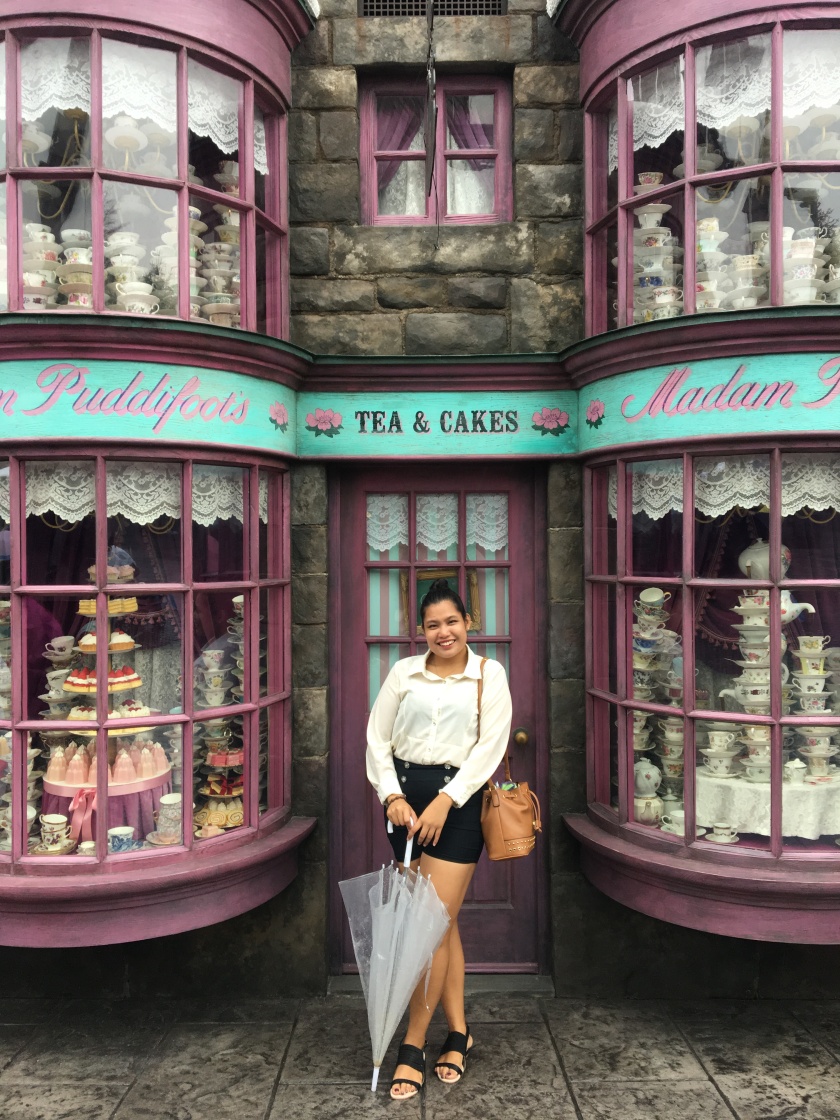
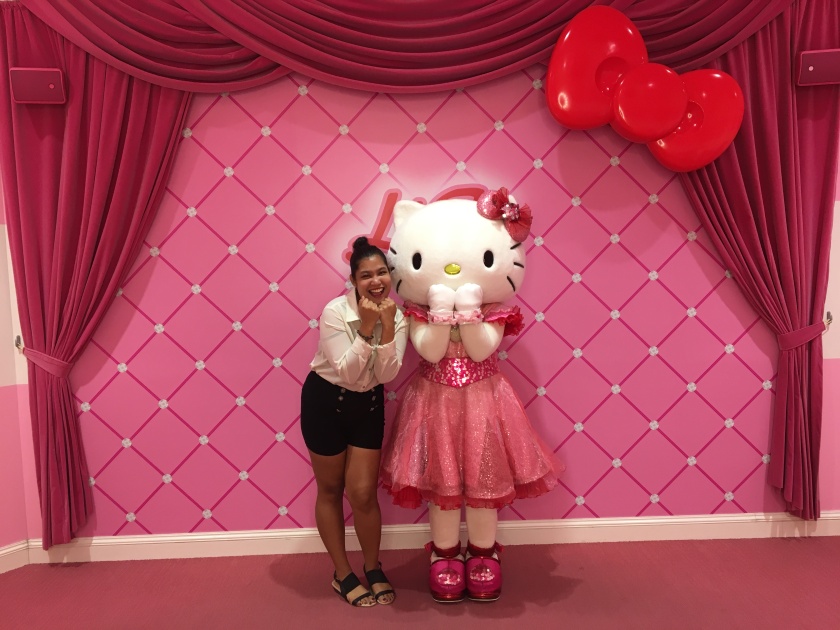
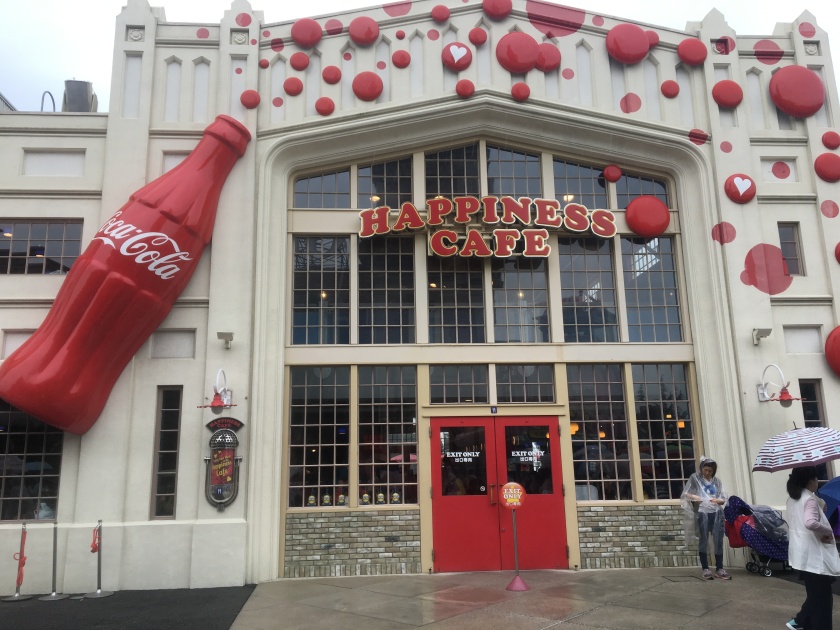
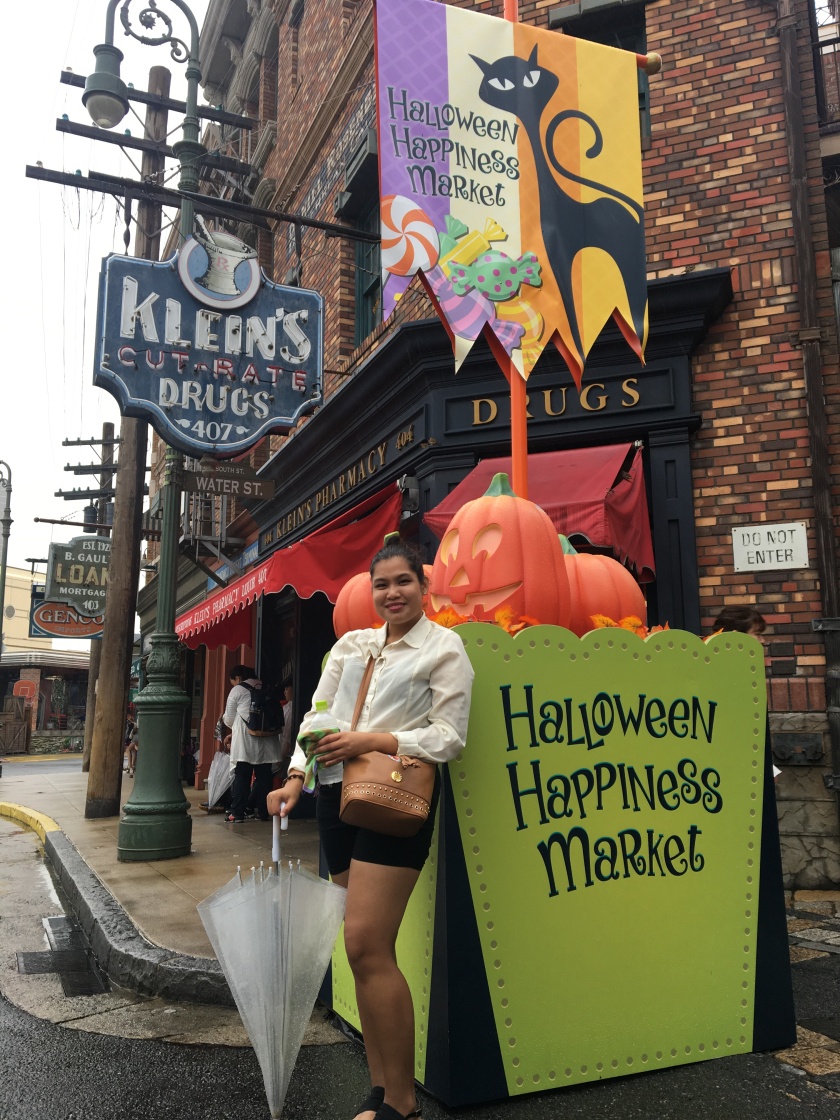
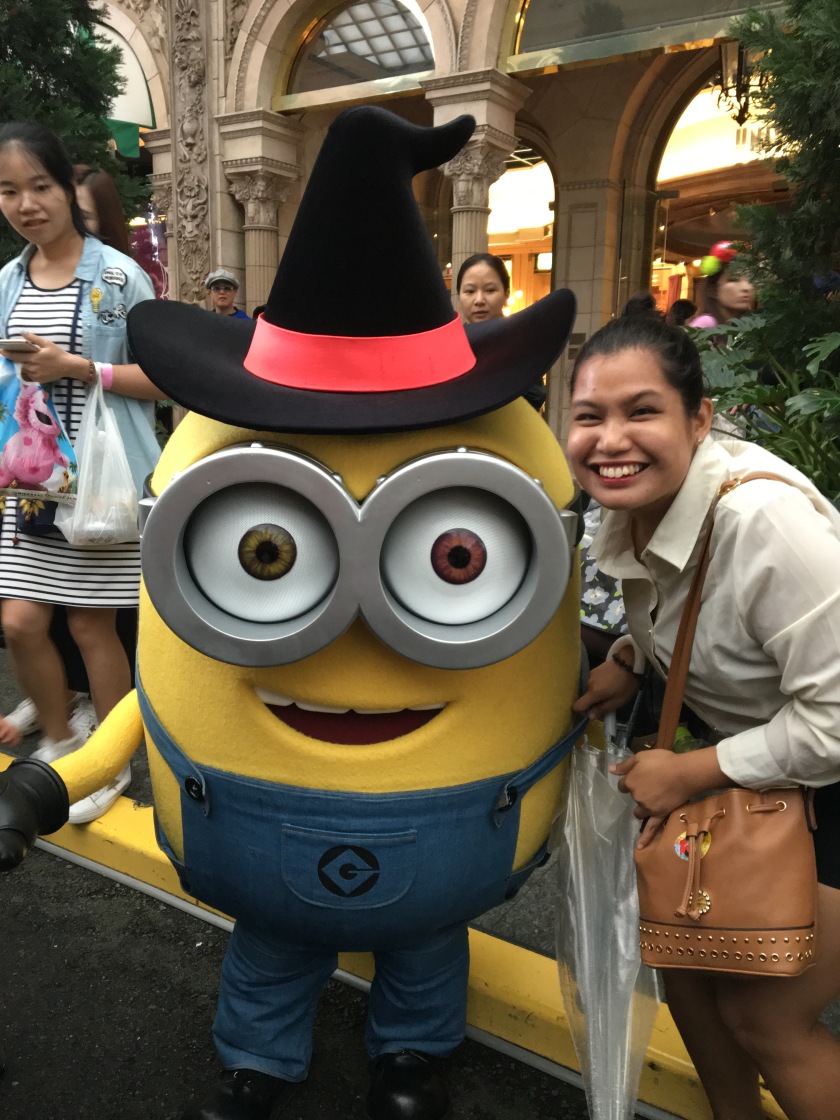
UNIVERSAL STUDIOS JAPAN
Visit the Harry Potter area first as lines can get so long and people crowd there a lot since it just happens to be their most famous attraction. #Potterheads will have happy hearts and so much feels when they are there!
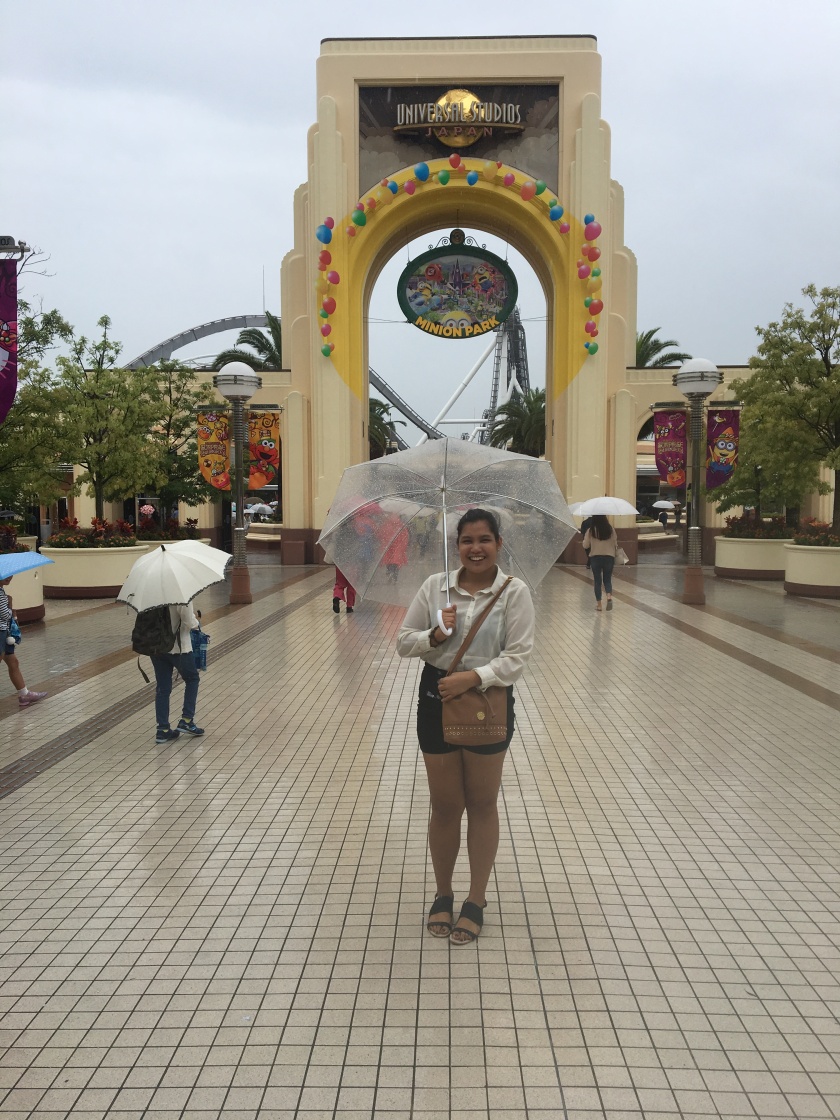


Check out also all the other areas since everything there is Instaworthy!!

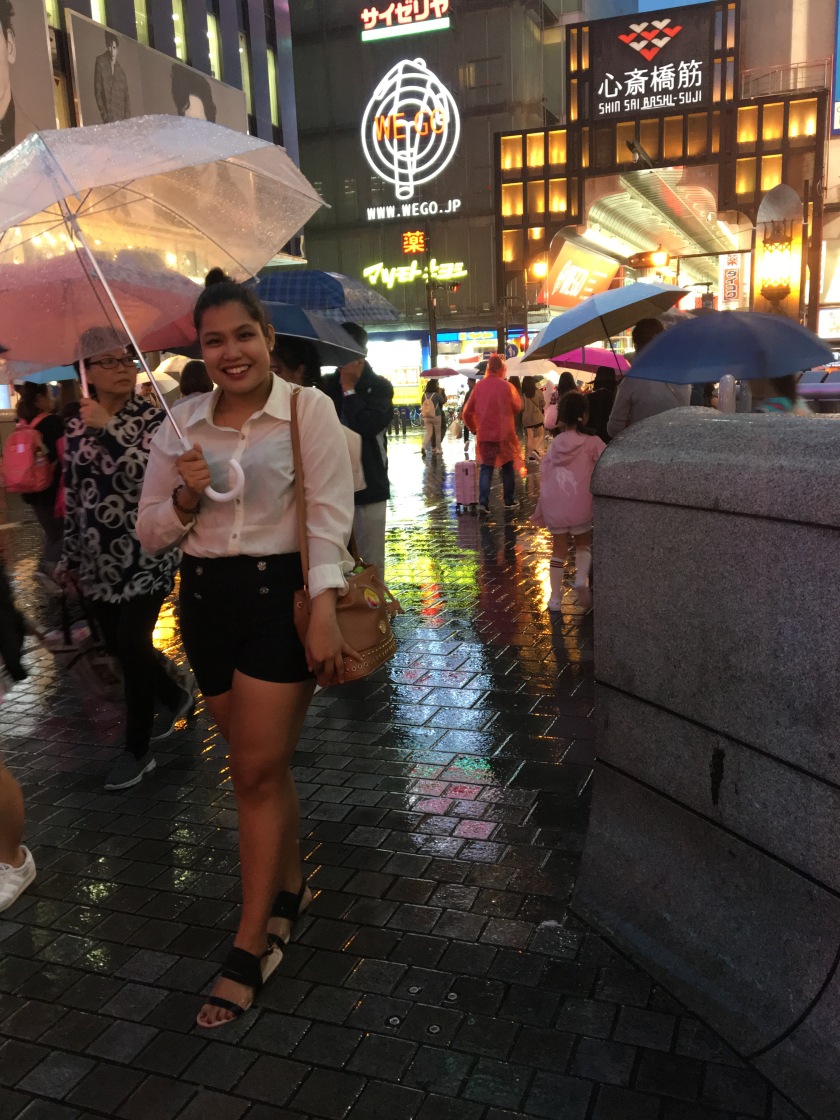
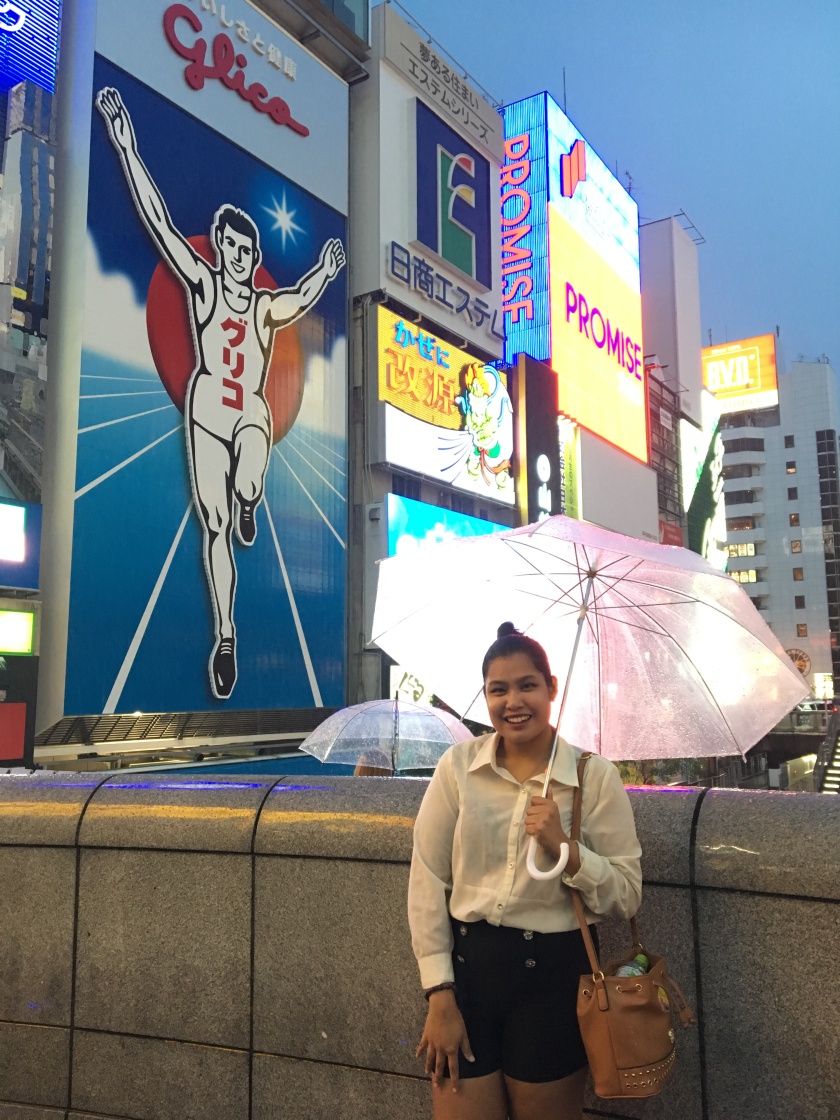
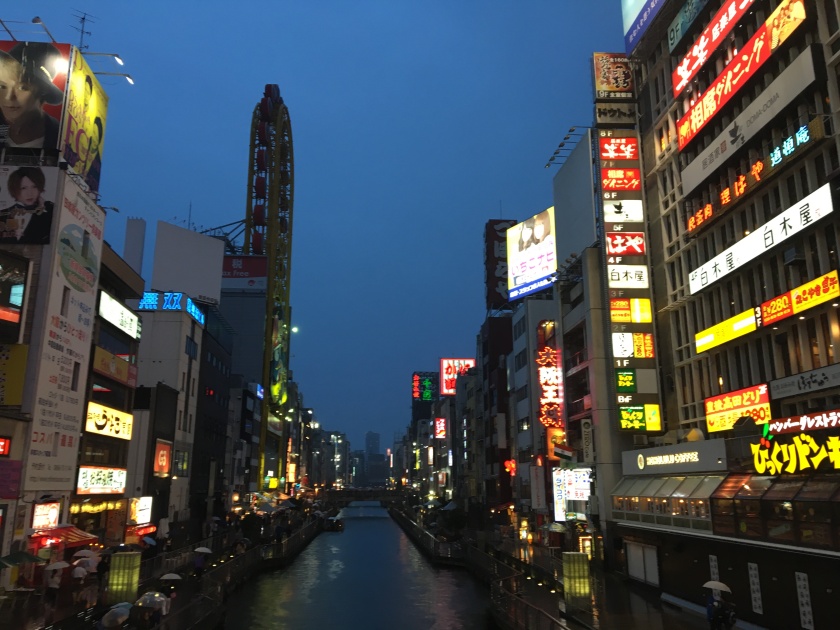
DOTOMBURI AND SHINSAIBASHI-SUJI
These two areas are famous for shopping and the bridge that connects them is where you’ll find the famous Glico sign!
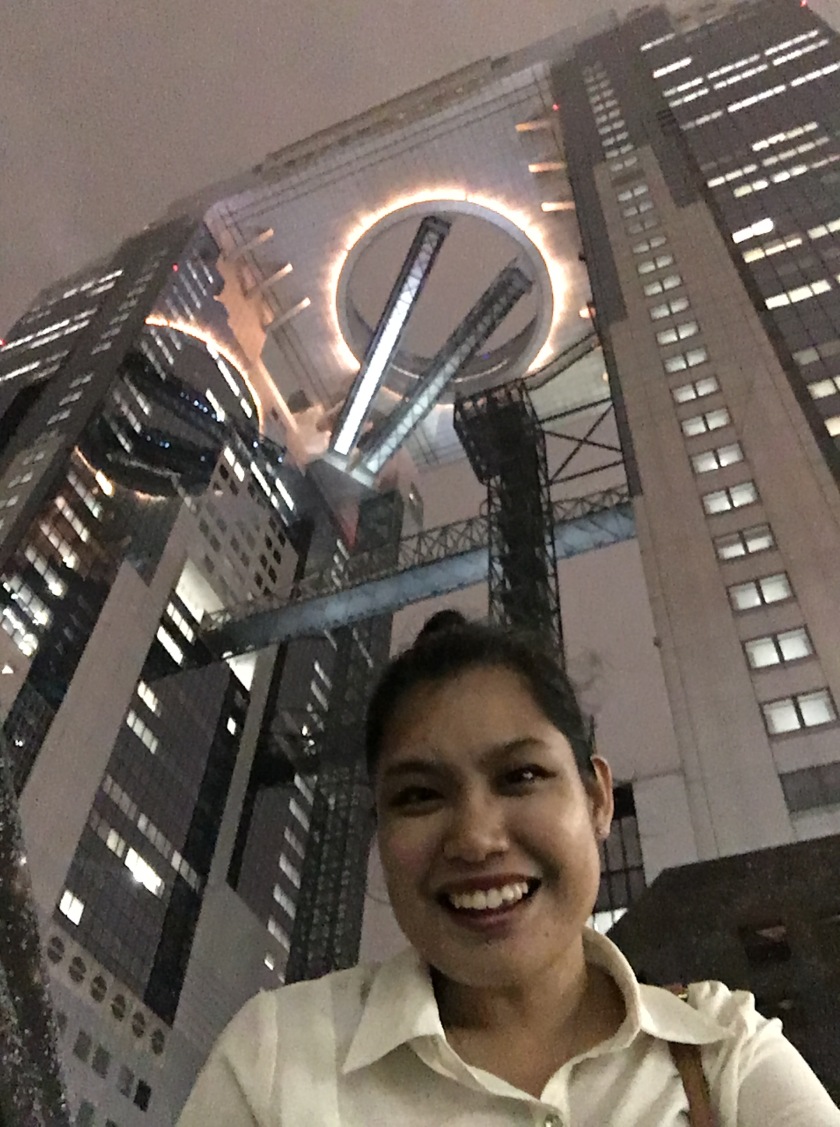
UMEDA SKY BUILDING
Visit the Umeda Sky Building to see how Osaka looks like and it is beautiful at night!
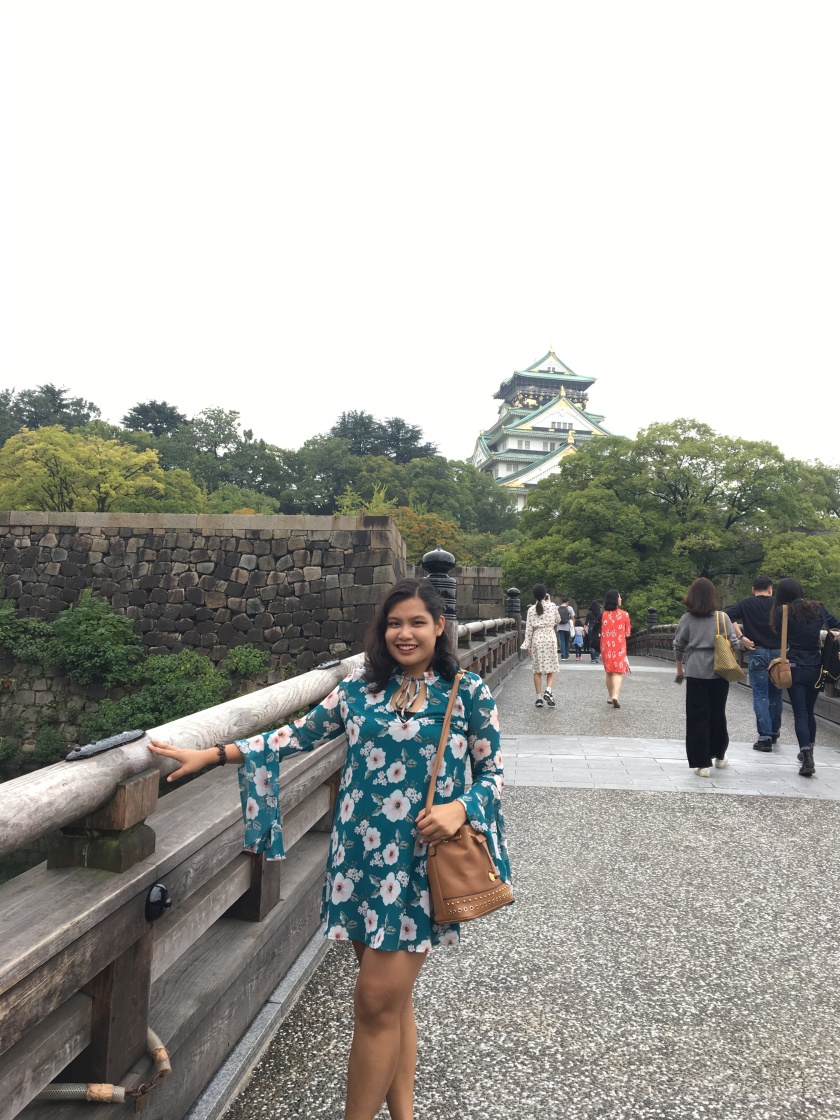
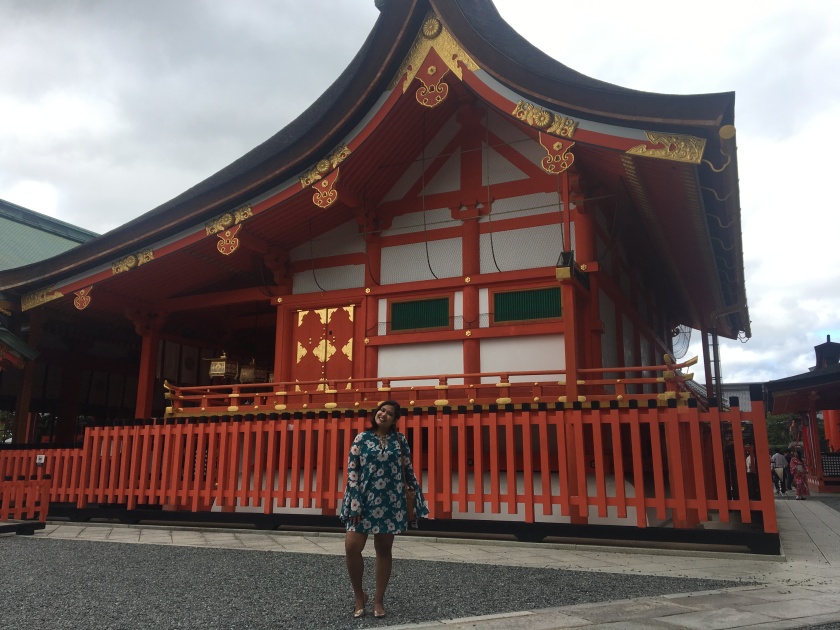
OSAKA CASTLE
A famous landmark in Osaka which was the former house of their Imperial King.
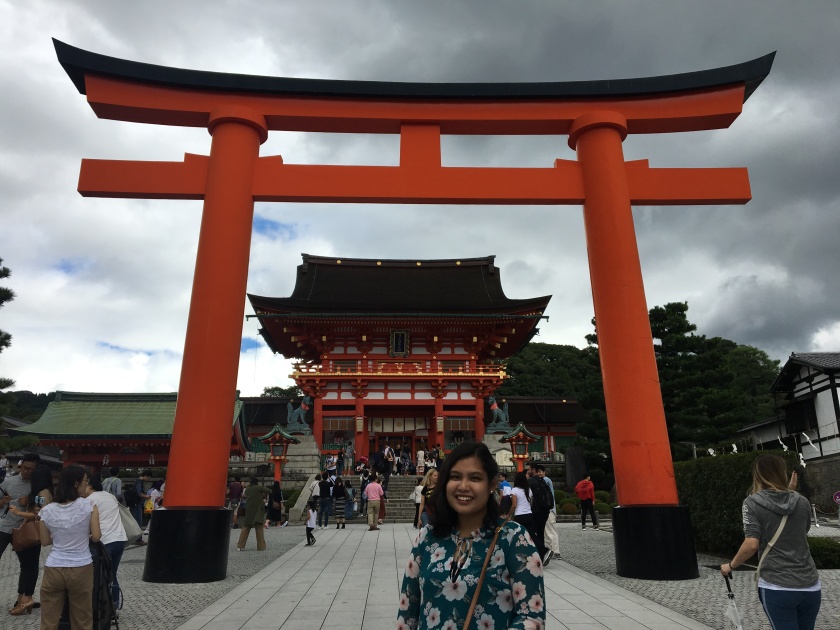
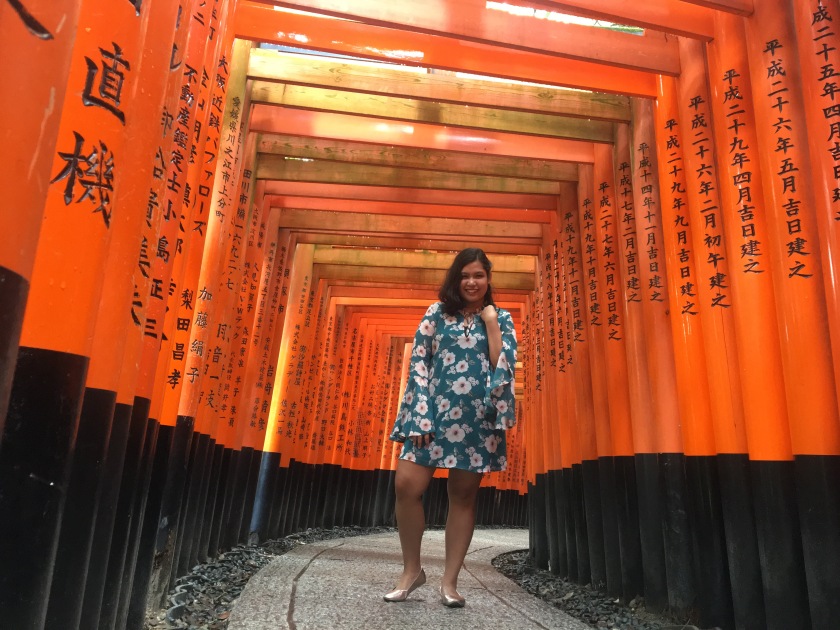
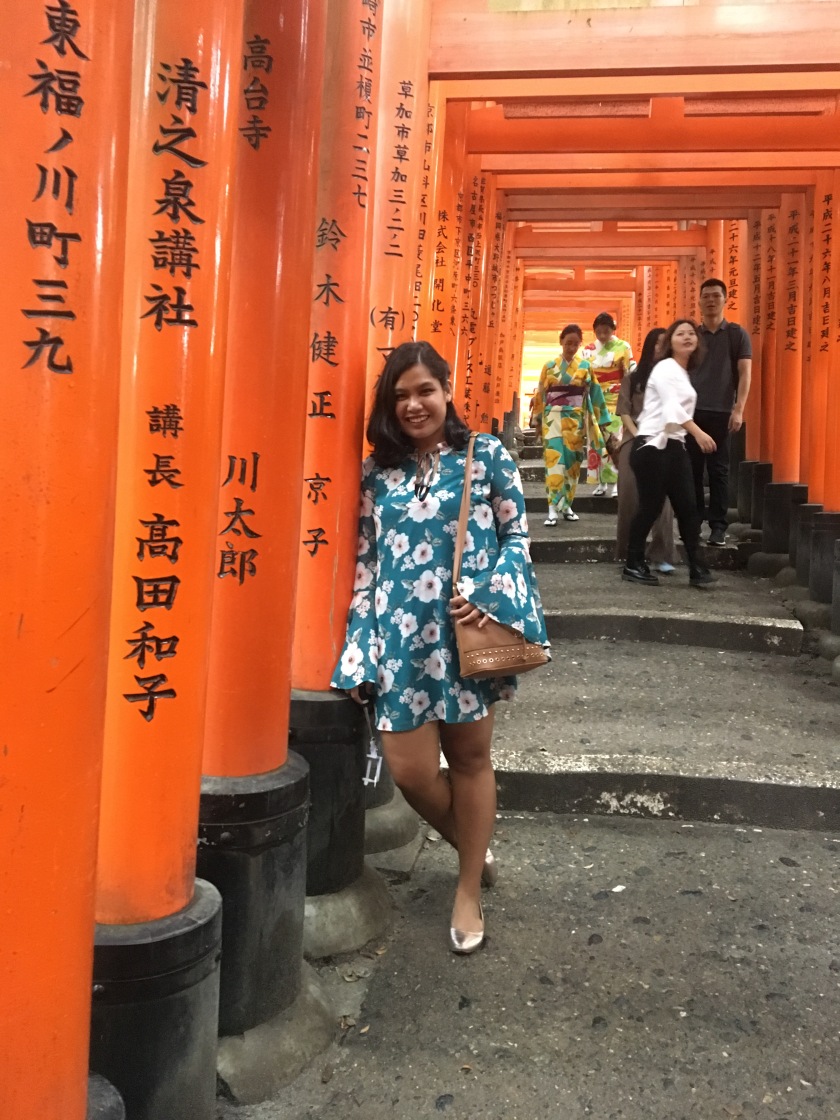
FUSHIMI INARI SHRINE
Fushimi Inari is the head shrine of Inari known for its numerous toriis/traditional Japanese gate which is donated by Japanese businessmen who felt thankful to Japanese God Inari.

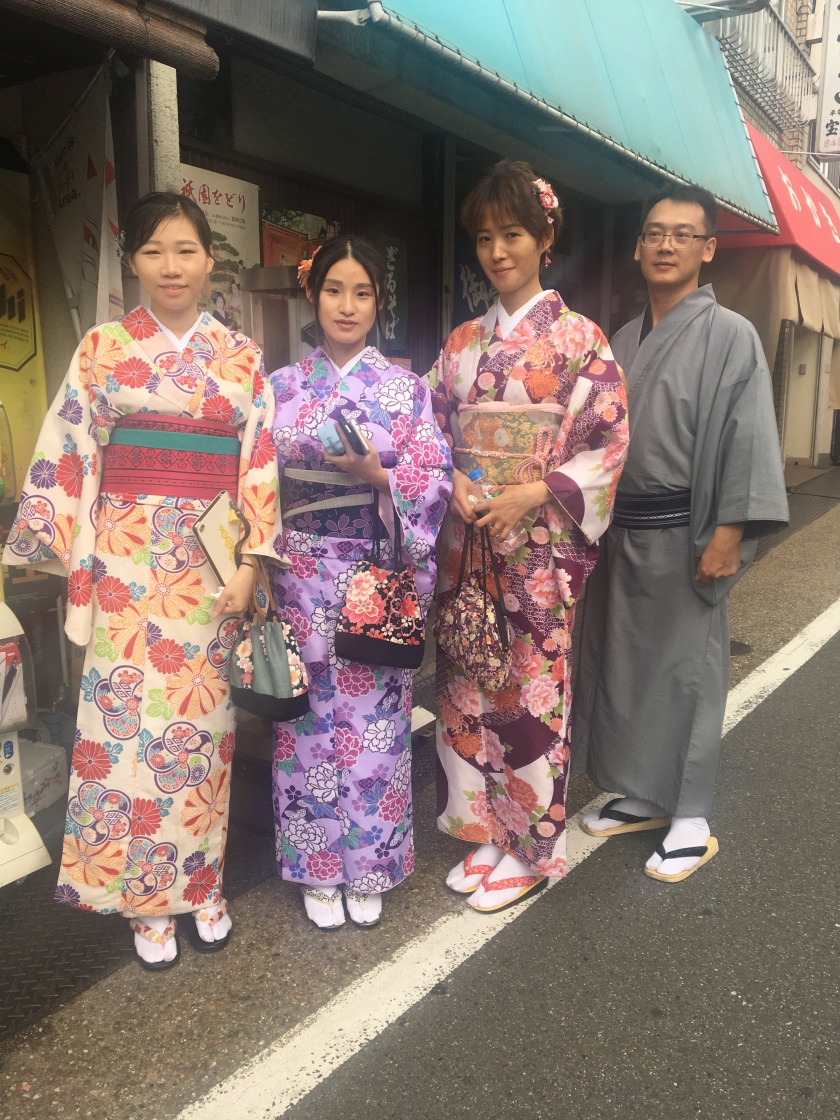
Saw these students wearing Japan’s traditional outfit, the Kimono.
TOFUKUJI TEMPLE
A Buddhist temple located in Kyoto known for its Kyoto Gozan
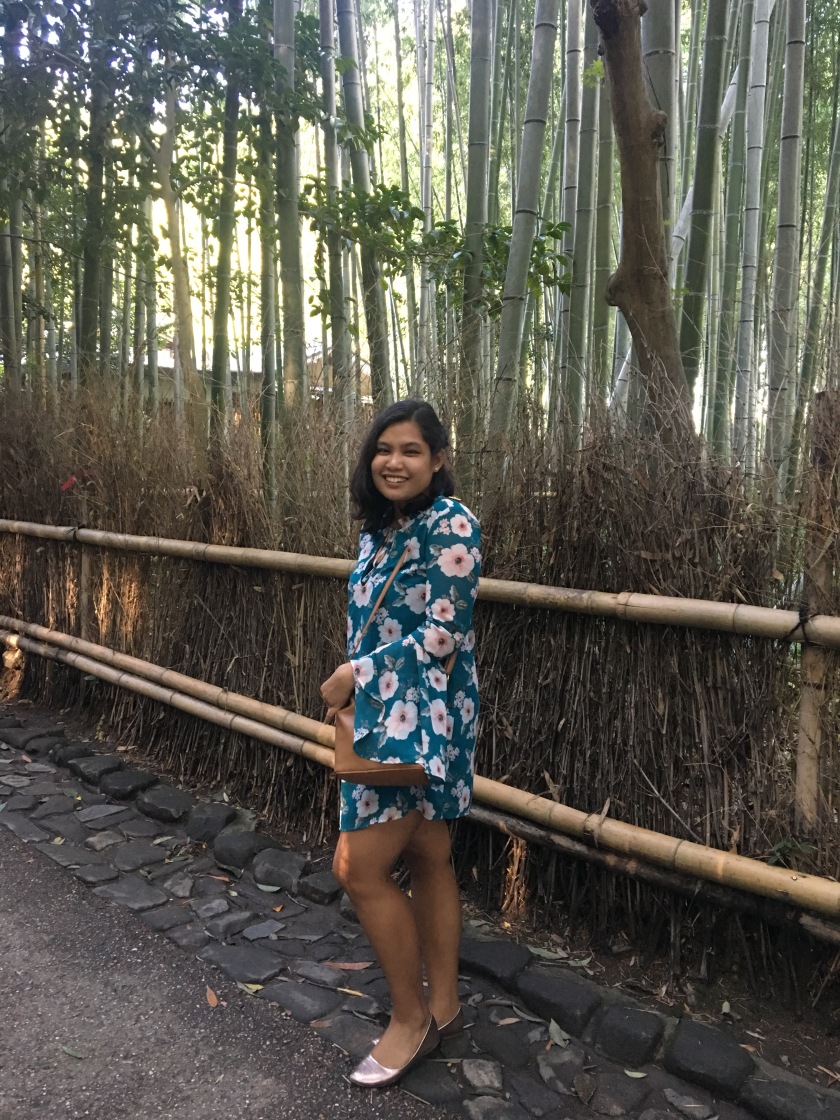
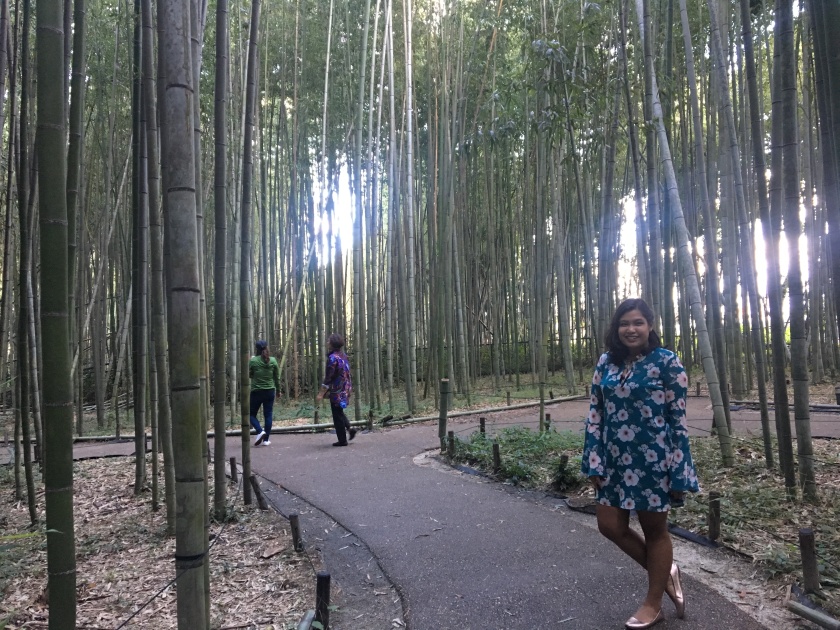
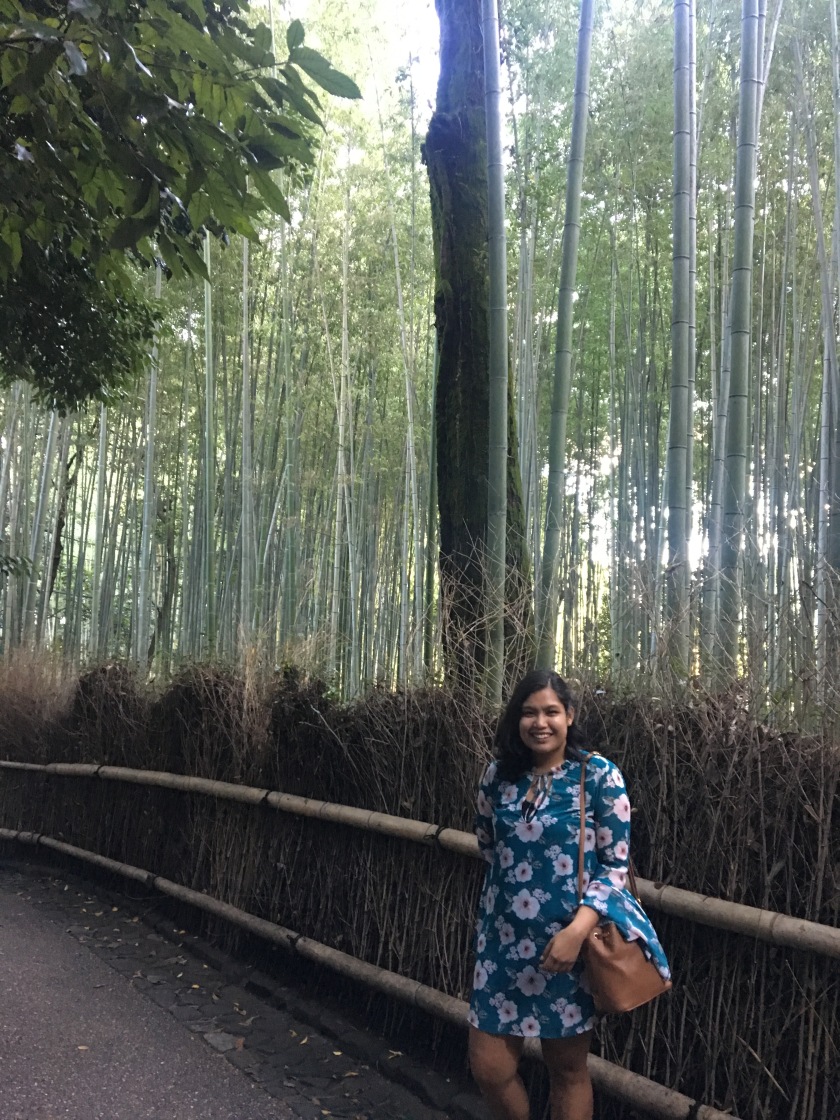
ARASHIYAMA BAMBOO GROVE
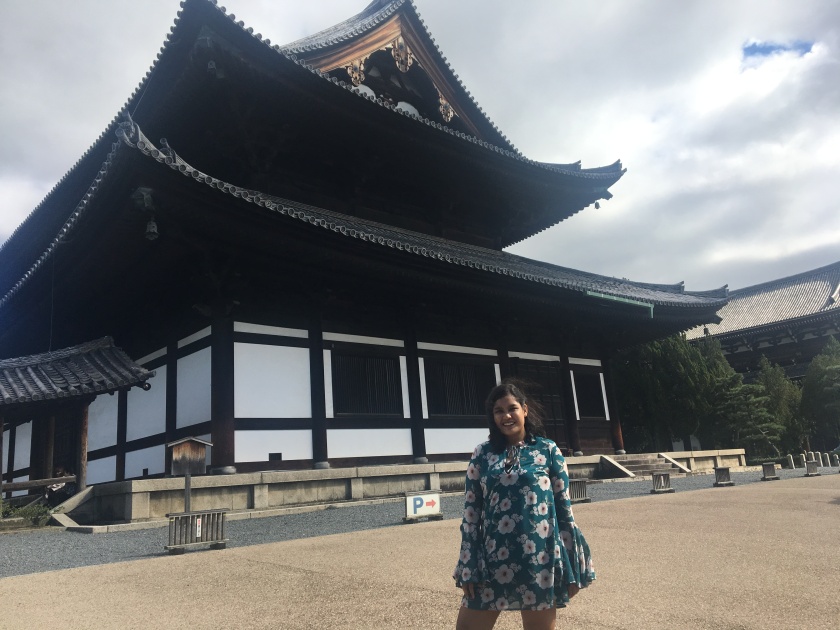
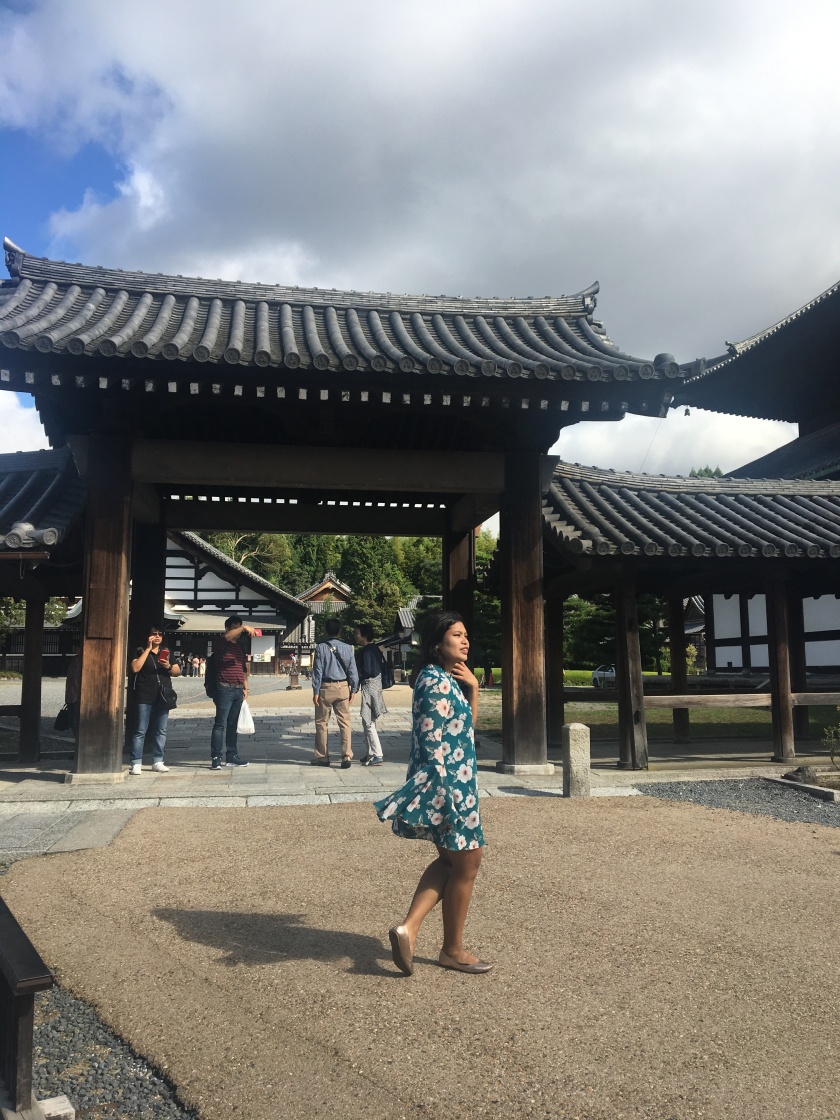
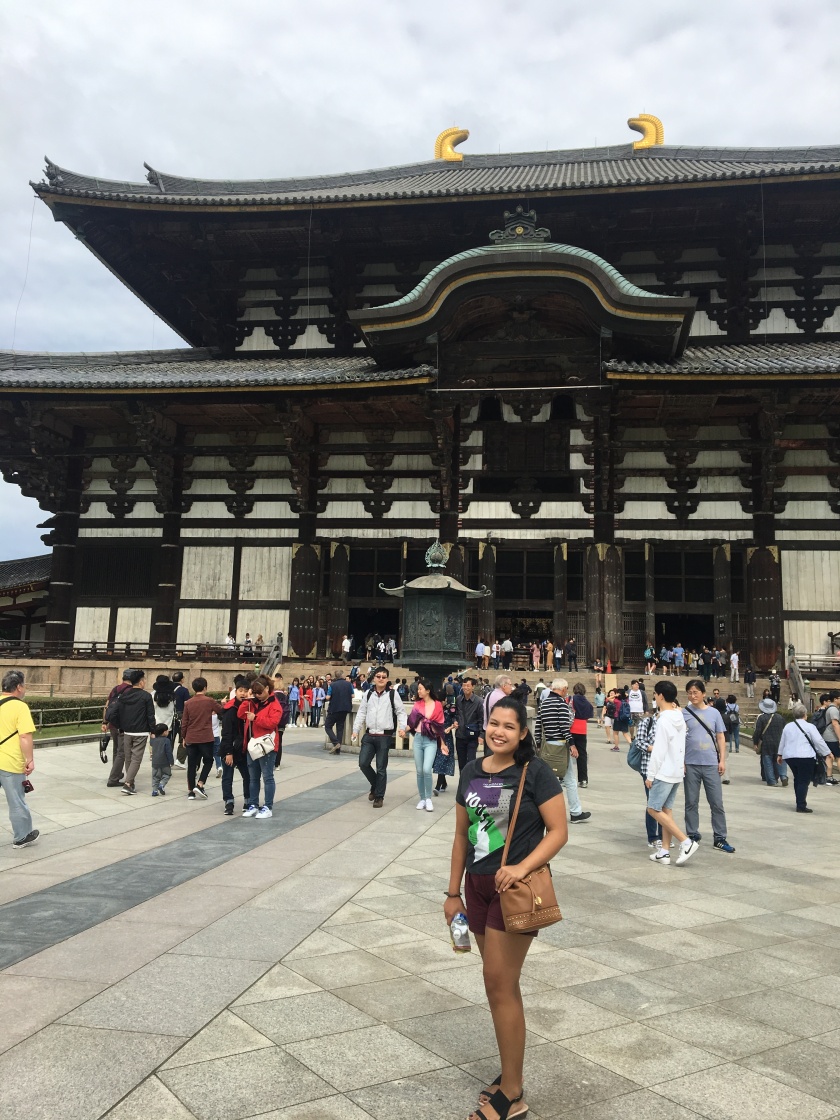
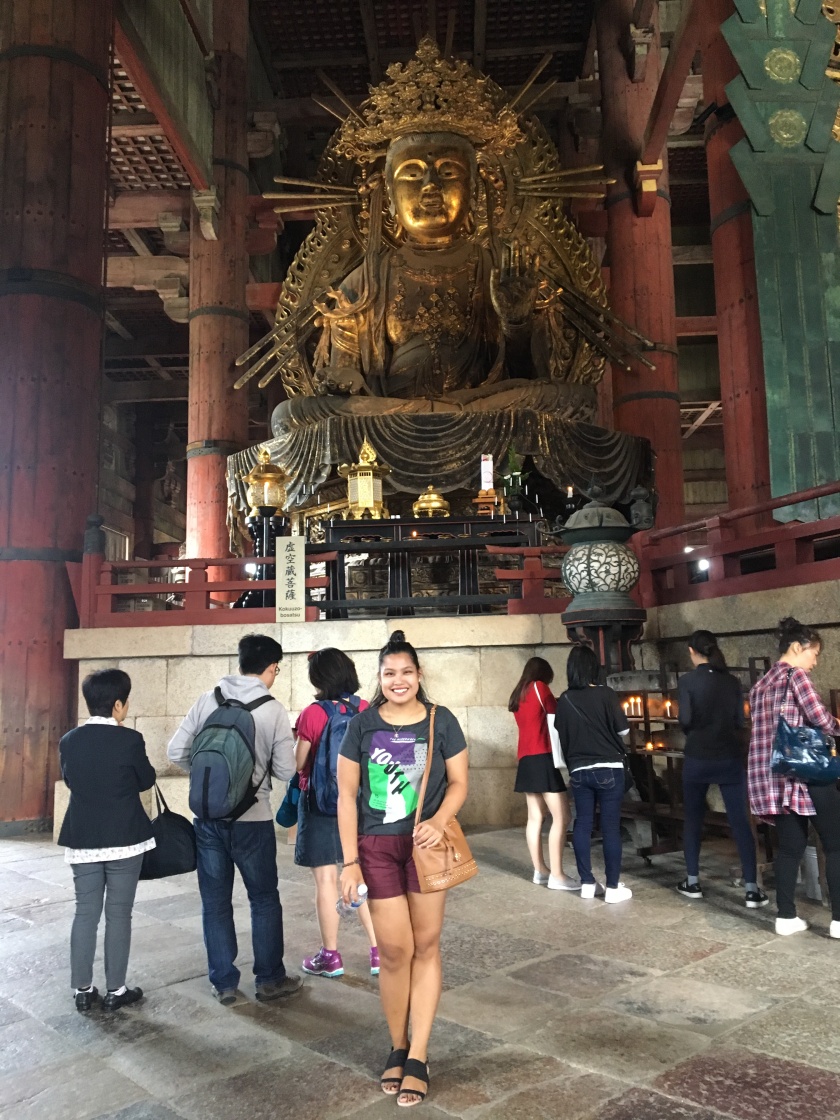
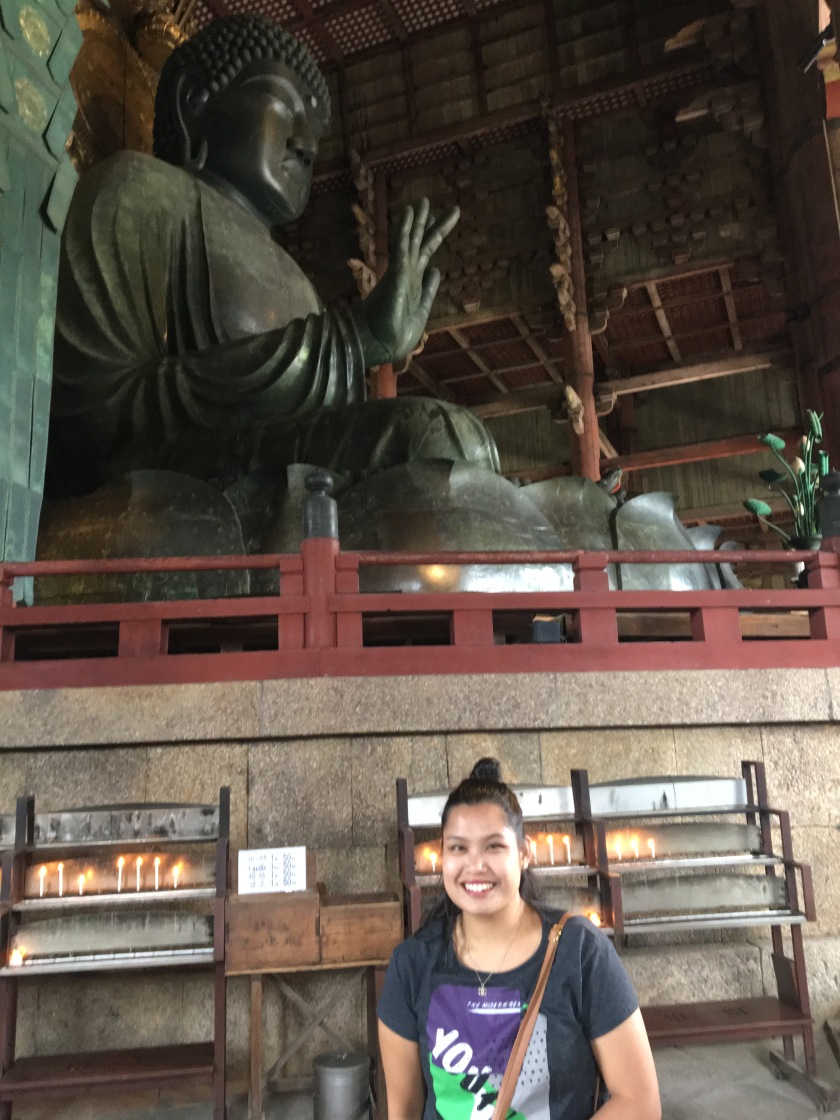
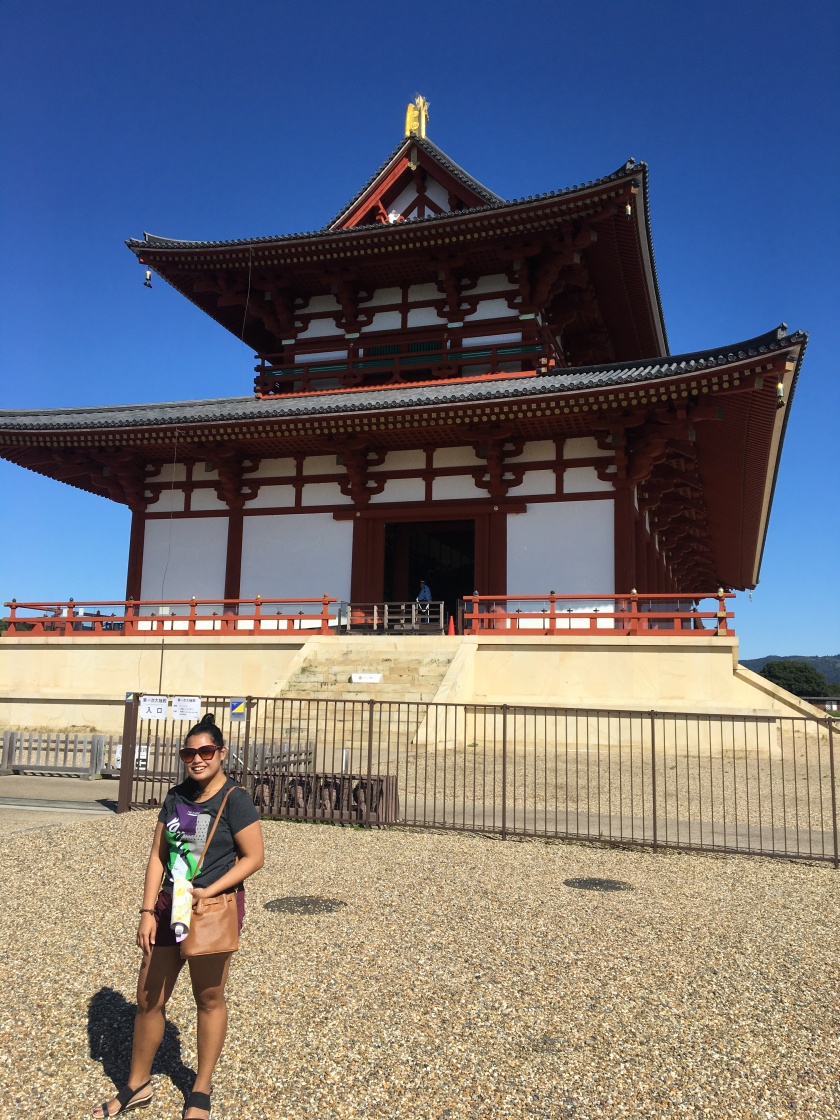
TODAIJI TEMPLE
This is Nara’s most significant temple and is the head of all Buddhist temples in Nara.
TIP: Buy a 1 day Nara pass for 500 yen which includes bus rides to all the tourist spots in Nara.
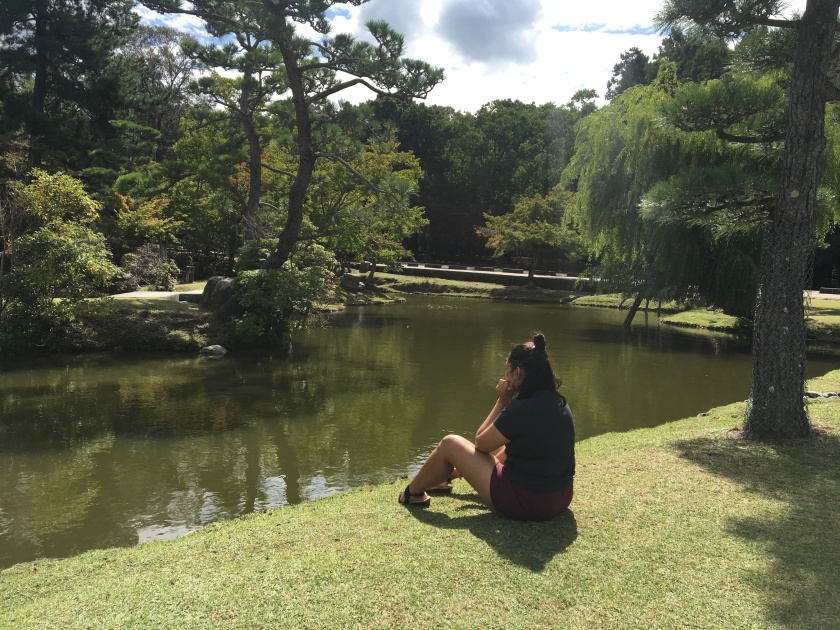
NARA PARK
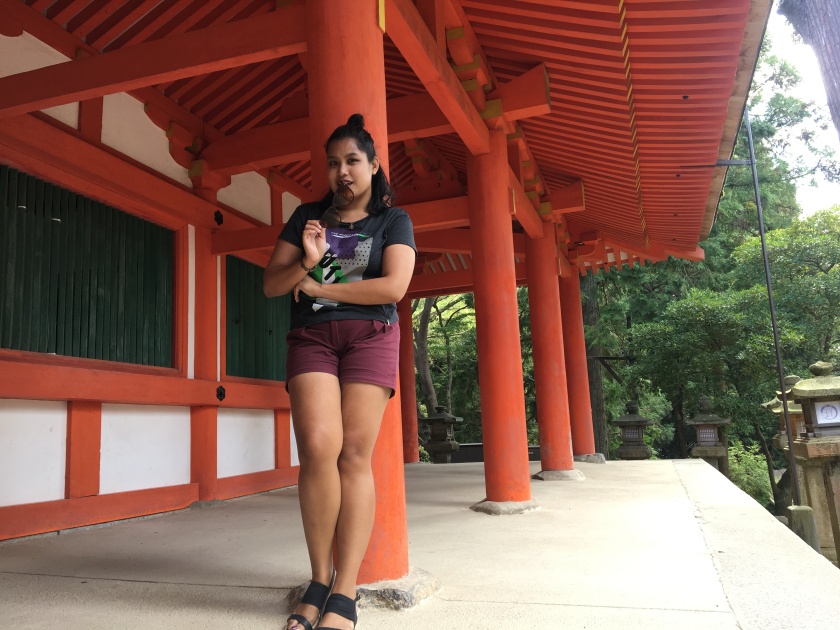
KASUGA INARI SHRINE
One of the other Inari shrines located in Nara. No need for you to enter the temple since they charge a certain fee. Take photos from the outside.
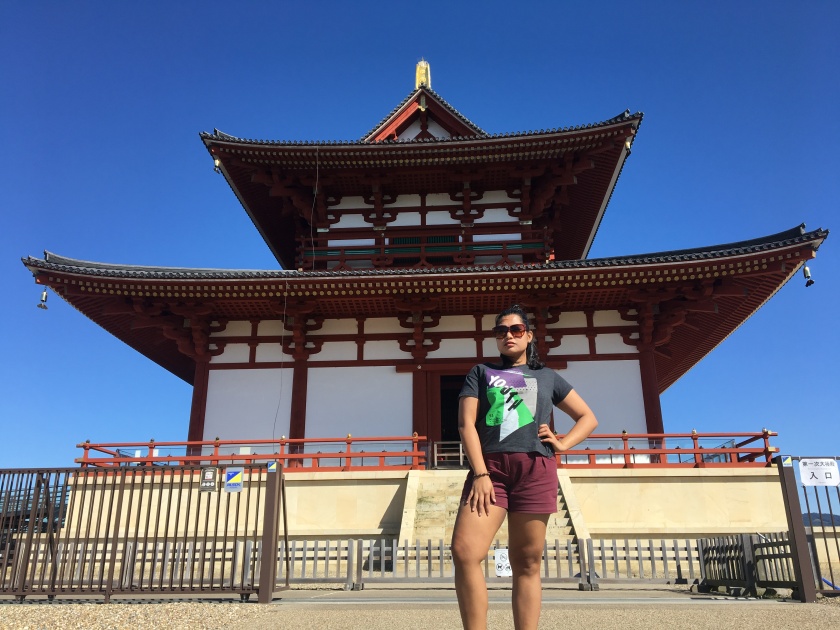
HEIJO TEMPLE
This temple was the seat of the government in Japan when Nara was the capital city of Japan before Tokyo.
Nara was my last stop before I went to the airport 🙂
That ends my Japan adventure!
BUT BEFORE I END THIS POST…
I gotta consider this post as an appreciation post for Yaeko for all the meals and the hospitality she showed me. Her niceness was over flowing I think I got fat when I was in Japan but lost weight eventually because of the walking.
THANK YOU YAEKO! I love you and visit the Philippines soon! I’ll tour you for free so you can try the DINUGUAN hahaha! 🙂
BUDGET:
| Particulars | Amount (PHP) | Remarks |
| Plane ticket | 2390 | |
| Travel Tax | 1620 | |
| USJ Voucher | 3000 | |
| TOTAL: | 7010 PHP | |
| Particulars | Amount (JPY) | Remarks |
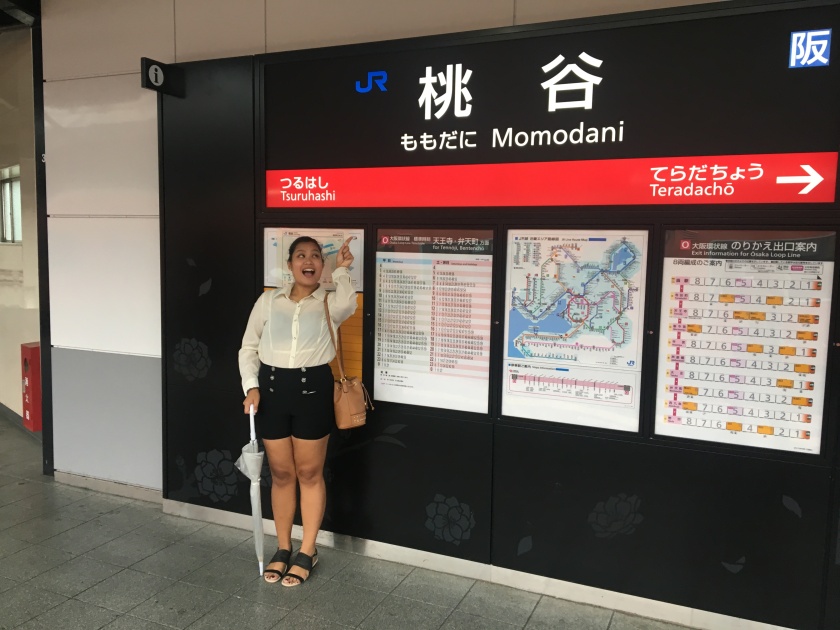
| Train from Kansai Airport to Momodani | 1060 | |
| ICOCA card and load | 5000 | |
| Meals | 1100 | |
| Butterbeer | 600 | |
| Entrance Fee – Osaka Castle | 600 | |
| Entrance Fee – Todaiji Temple | 500 | |
| Shopping | 1540 | Pair of pants and sweater |
| Pasalubong | 5400 | Chocolates, postcards, ref magnets, etc. |
| Nara Pass (good for 1 day) | 500 | |
| TOTAL: | 16300 JPY or 7411 PHP | |
GRAND TOTAL: 14,421 PHP |
||
That’s it! I invaded Japan for 14,421 pesos 🙂
If I can do Japan, so can you! So visit Japan and be amazed!
Thanks for reading and hope you liked my second solo trip adventure!
Till my next travel post!

Saan po kayo natulog?
LikeLike
Hi! I did Couchsurfing 🙂
LikeLike
Are you required to pay them?
LikeLike
Hi,
Who do you mean? 🙂
LikeLike